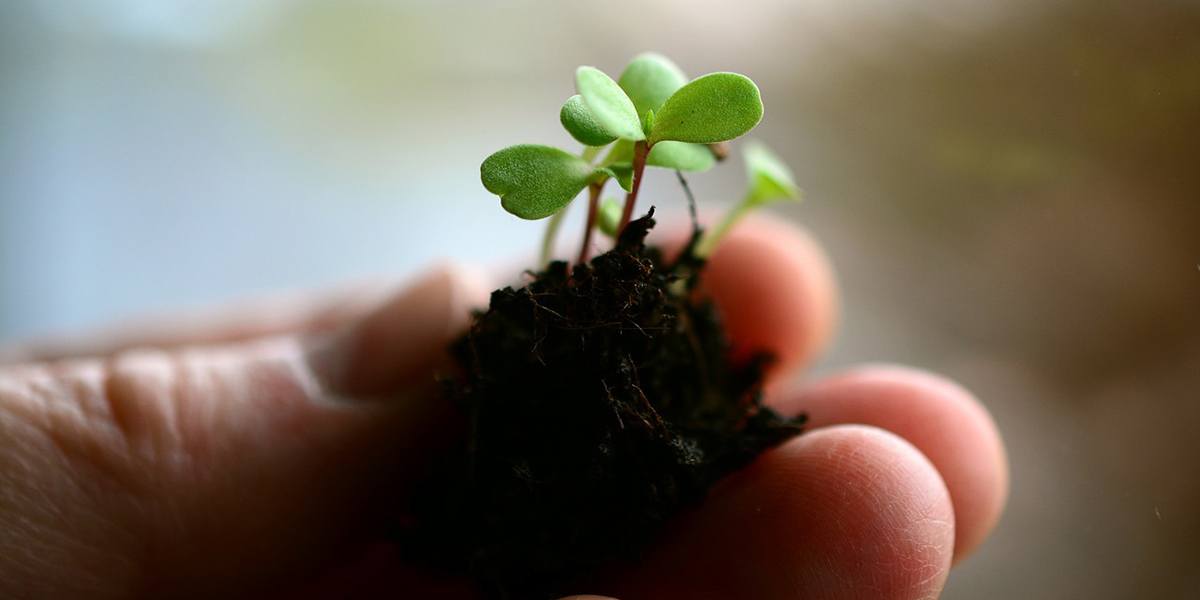
Best Growing Medium For Microgreens
We currently grow our sustainable microgreens exclusively in soil. But I decided to do some research to see if there was a better growing medium that I should be considering.
What’s the best growing medium for microgreens?
There’s a reason that the vast majority of microgreens growers choose to use soil. It produces the best product, the highest yields, and tends to be the easiest to work for.
But you could also consider coconut coir, vermiculite, hydroponics, or other growing mediums depending on your specific situation.
In this article, we’ll look at the different options when it comes to microgreens growing mediums, as well as the pros and cons of each.
Want to Learn More?
If you want to learn in more detail how to start growing microgreens as a business, then check out this free guide from Nate Dodson at MicroGreensFarmer.com.
Article Contents: show
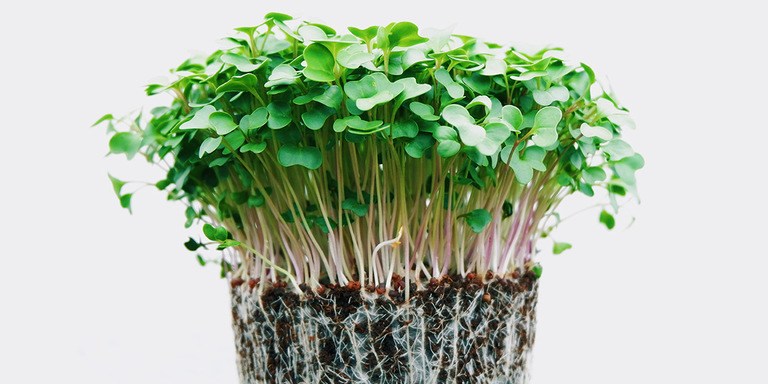
What Growing Mediums Are Available For Growing Microgreens?
Most methods for growing microgreens use a 10″ x 20″ tray. But there are several different materials that you can choose to line your trays with.
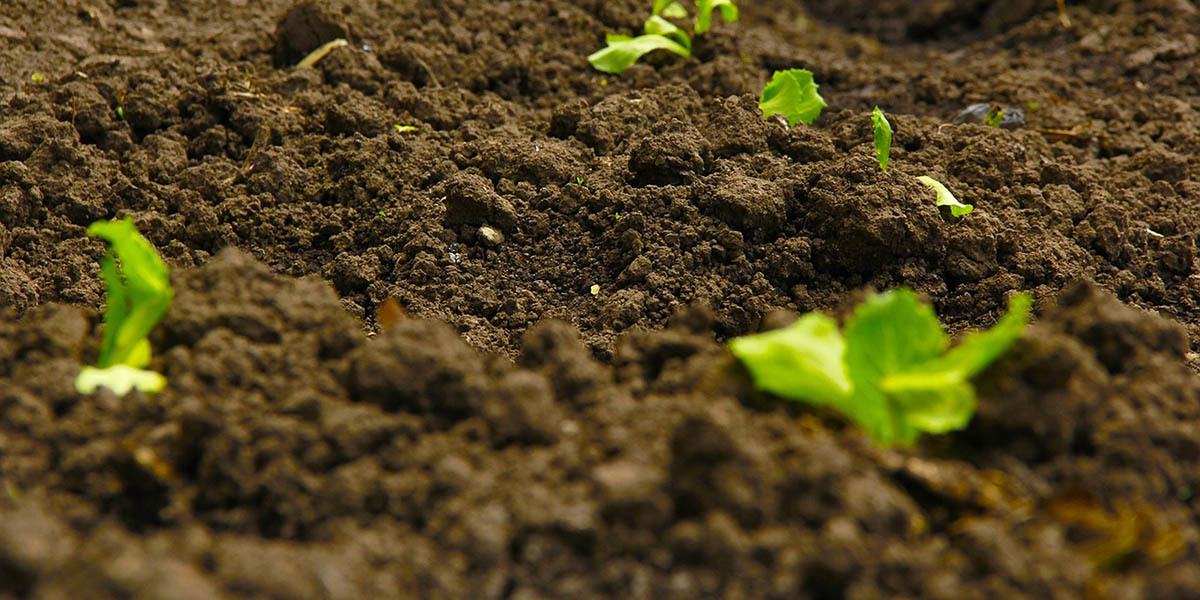
Soil
Soil is the tried and tested way of growing microgreens.
Any organic potting soil will work best, but a favorite among many US-based microgreens growers is Happy Frog potting soil by Smart Naturals, which is available at most Walmart stores and lots of garden centers across North America.
These potting soils are quite sterile, so they’re great for growing indoors without worrying about pests or other issues.
Most potting soils don’t need any nutrients added to them. Just water, and perhaps you may want to check and adjust the pH if you’re really serious about your microgreens operation.
Potting soil should be put into 10″x20″ to a depth of about 1 inch thick.
Soil quality matters more for some varieties of microgreens than others, especially if you’re growing ones that you want to have very vibrant colors.
A good soil costs about $1 per tray. Although you can compost and sterilize soil so that it can be re-used again for a long-term operation.
Read more about microgreens business in my How To Grow Microgreens For Profit guide.
Sterilizing Soil
If you’re using regular soil or compost from outside, you’ll probably want to sterilize it before using it to grow microgreens.
You can do this by baking it in an oven preheated to 180 degrees F (82 degrees C) for 30 minutes.
For larger batches, you can lay out plastic sheeting in a sunny spot and cover it with a layer of dirt up to 4 inches thick.
Spray it with water to get it moist, and then cover it with another piece of clear plastic sheet. Weigh the top sheet down with rocks and leave it to bake in the sun for at least 4 weeks.
One of the big downsides of soil is how messy it is.
Coconut Coir
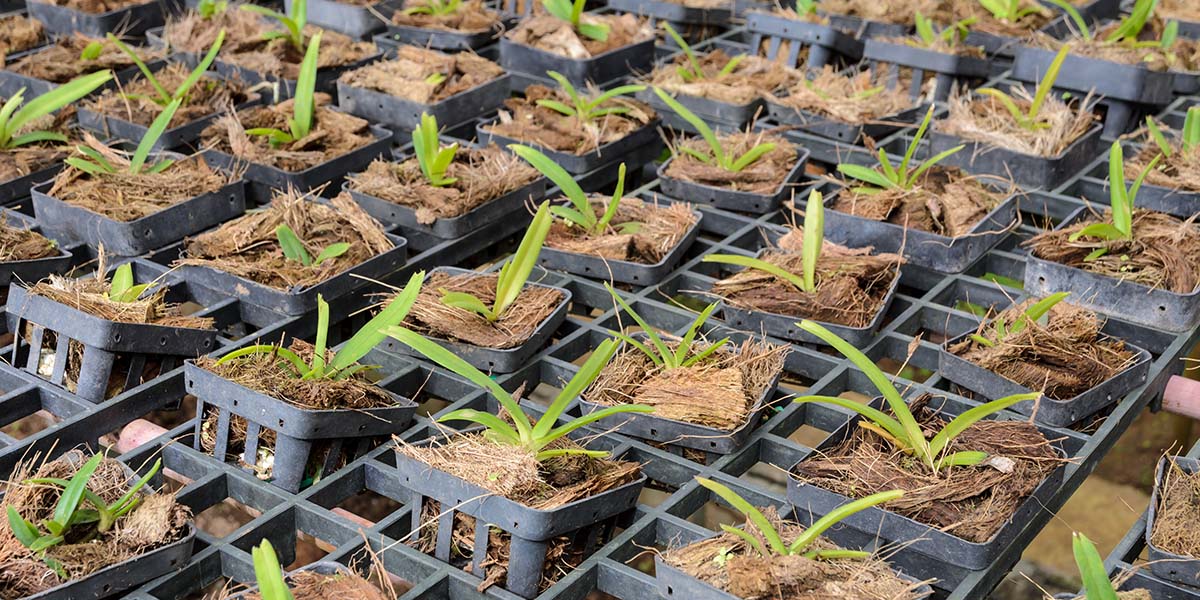
Coir is made from the fiber of coconuts. It holds in moisture really well. It’s also hard to overwater, as most extra water will just run out of it.
Coir is a bit cheaper than soil. Depending on the brand and quantity you buy, it usually works out to about $0.60 per tray.
Normally you buy coconut coir in large dehydrated blocks. They’re lightweight and easy to store in this form. When you’re ready to use them, you just add water and they’ll expand to many times their original size.
There are also coco coir liner and sheets that come already made for microgreens trays. All you need to do is to roll them out, cut them to length, and add water.
Since it’s made up of small particles, coconut coir is just as messy as soil, but with the downside that it doesn’t contain much in terms of nutrients for your plants.
Coconut coir is most commonly used with the ebb and flow hydroponic method. This is where you irrigate your microgreens with nutrient-rich water by temporarily flooding them for a few minutes and then allowing the water to drain out.
Burlap

Burlap is one of the cheapest growing mediums at only around $0.25 per tray. But burlap can also be one of the most difficult mediums to use.
Burlap is a woven fabric that’s made from the jute plant, which is also used to make nets, ropes, and other products.
Expert growers can get microgreens yields with burlap that are similar to using soil, but it typically takes a lot of trial and error to get to that point. You need a way of controlling temperature and humidity quite accurately.
Since burlap is fabric, you need to add fertilizer to get the same yields as you’d expect from soil.
So in that sense, burlap acts as a hydroponic pad. If you have your burlap in standing water, you’ll need some kind of irrigation system as well.
Basically with burlap, there is a lot that can go wrong if you’re not careful. So I wouldn’t recommend it for beginners or inexperienced microgreens growers.
If you do plan to grow using burlap, two crops that grow quite well on it are wheat grass and pea shoots. In either case, you can get about 12 ounces (350 grams) in ideal conditions from one 10″ x 20″ tray.
Hemp Mats
Hemp mats are made of (you guessed it) woven hemp fiber. They’re designed to transport water evenly around your microgreens and keep the correct ratio of water and air for their roots.
Since it holds water really well, it reduces the number of times you’ll need to feed your microgreens each day.
Most hemp mats are actually two pieces stuck together. By default, they’re a bit thick for growing microgreens. You can cut your costs by peeling your mat into two separate layers, providing you with double the growing medium.
After splitting, hemp mats cost about $0.65 per tray. Only slightly more than coconut coir.
The big downside I find with hemp mats is that they’re flimsy. They rip quite easily, especially when you get them wet or are trying to transfer it to harvest it.
Broccoli and kale seem to grow especially well on hemp mats, but all microgreens will perform fairly well. Hemp mats are less finicky than growing on burlap, but they aren’t messy like coir.
Biostrate
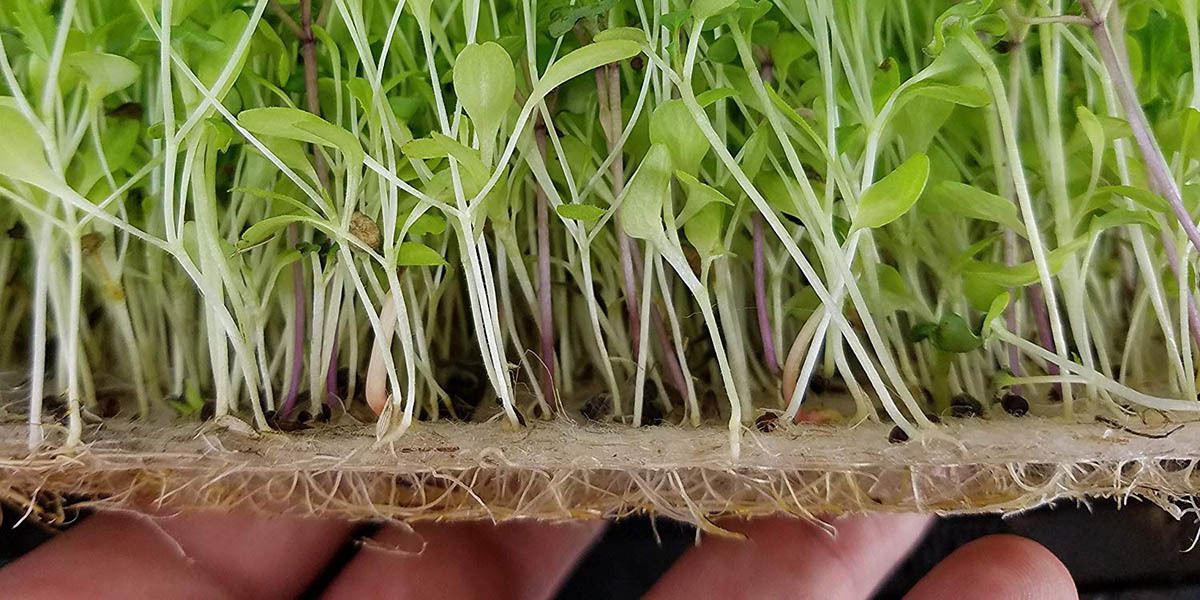 Photo from amazon.com
Biostrate is a brand name of felt textile designed for hydroponic growing. It’s pH balanced, biodegradable, and a lightweight material.
The problem is that similar to burlap, it can be a bit difficult to work right and get your setup right. Many people complain that it dries out too quickly and doesn’t absorb water as well as other materials.
You can find Biostrate for about $0.85 per tray. Part of that sight increase in cost is likely due to the fact that it’s only produced by one company who holds the registered trademark, Grow-Tech.
Vermiculite

Vermiculite is another soil-less growing medium. It’s a mineral that’s mined from the ground and significantly expands when heated. It has a neutral pH and it’s mold resistant and sterile.
You’ve probably heard of it as an additive to regular soil as a way to allow for better aeration, along with a similar material called perlite which is made of volcanic glass. But it can also be used as a growing medium all on its own.
It’s great at retaining water, and even contributes small amounts of magnesium, potassium, and other minerals to your microgreens itself.
Rockwool
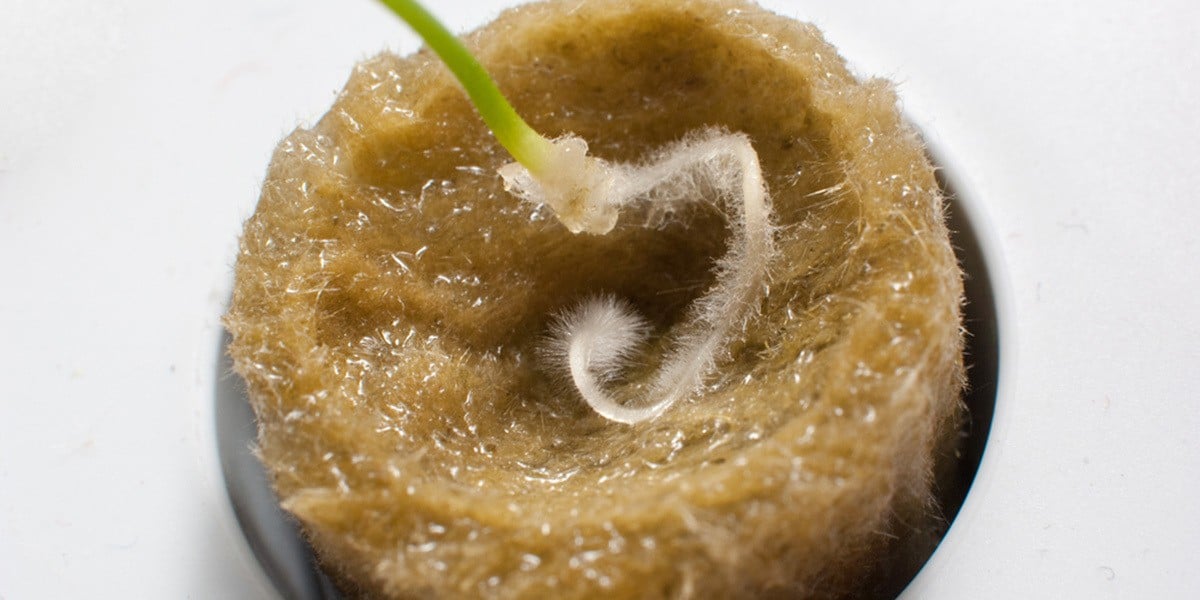
Rockwool is a man-made material that’s most commonly used as insulation. It’s made by combining rock (usually basalt) and chalk, heating them up to about 3,000 degrees F (1649 C), and then blowing a stream of air through it to make the material into thin fibers.
I don’t like the idea of growing in rockwool for several reasons. Mostly because it causes irritation to the skin, eyes, and respiratory tract. You can also get splinters from its sharp fibers. Not the kind of thing that I want to be growing my food in!
Read the Ultimate Guide of How To Grow Microgreens where you learn about equipment, time, and techniques.
So What’s The Best Growing Medium?
It really depends on what your wants and needs are.
Want a growing medium that isn’t messy? You don’t want to use soil, coir, or vermiculite in that case. Hemp mats are probably your best choice.
Do you want a re-usable material? Opt for soil, coir, or vermiculite. Any solid mat will be almost impossible to remove the roots of your microgreens from. So you won’t be able to re-use them.
Want to use compostable materials for environmental reasons? Soil, burlap, coir, hemp, and vermiculite can all be composted.
Looking to use an ebb-flood hydroponic system? Coir or hemp mats are your best choice.
My Overall Recommendation?
I still like growing my microgreens in soil the best.
I find it produces the most consistent yields and hardiest looking product. It costs the most per tray in terms of material, but you also need to take into account that all other growing mediums require you to add other nutrients to them.
For hydroponics, I like hemp mats the best, with coconut coir in a very close second place.
Tips To Grow Better Microgreens, Regardless Of Growing Medium
Here are some tips to help you get the best possible microgreens, no matter what you’re growing them in.
1) Make Sure You Have Proper Drainage
Microgreens need moisture to grow. But too much water means they aren’t able to get oxygen to their roots, and also increases the risk of algae or fungus growth.
Your trays should have good drainage whether you’re using soil or a hydroponic system. Unless you have a pump that is constantly circulating water, your microgreens shouldn’t ever be standing in water for more than a couple of minutes at a time while you water them.
2) Use The Right Seed Density
This will depend on what microgreen crop you’re growing. Each variety will have different density requirements, so you’ll need to find the correct amount for each type of microgreen that you grow.
For example, radish seeds should be grown at a density of 1.5 to 2 ounces per 10″ x 20″ flat.
Seed density is also different than plant density. Arugula seeds are smaller, so they’ll have a higher plant density than radishes at the same seed density.
Generally, the bigger a seed is, the higher of a planting density that is required. For really large seeds like peas, you might need 12 ounces of seed per flat.
Here is a Complete List of Main Types of Microgreens You Can Grow
When you plant seeds too densely together, roots grow so thick that it makes water drainage difficult. As microgreens get taller, they can form a canopy if they’re too thick which traps in humidity and heat, which can cause the growth of mold and fungus.
3) Keep A Higher Humidity For A Better End Product
High humidity leads to more crisp microgreens.
At 20% or 30% relative humidity, microgreens feel soft to the touch when compared to those grown at 50% humidity. If humidity is too low, your crops won’t taste as fresh and crisp as when they’re grown at higher humidities.
The added humidity literally plumps the microgreens up full of more water, giving them more crunch when you bite into them.
Humidity can be a bad thing in terms of growing mold and bacteria though, so proper ventilation is a must. You might want to only boost humidity for the last couple of days before you harvest your greens.
4) Save Time By Using The Right Equipment
A microgreens business has quite low costs in terms of trays, soil or nutrients, and seeds. The biggest cost is labor.
You can cut your labor costs by using the proper equipment. Especially as your operation starts to get larger, this will make a big difference. You can streamline every part of the process including soaking, planting, maintenance, and harvesting.
Using the right tools can drastically cut down on the time you spend managing your microgreens.
For example, you can speed up your harvest by keeping your blades sharp, or even by investing in equipment like a small hedge trimmer. In addition to making harvesting easier, a cleaner cut means less bruised crops and leads to longer shelf life as well.
Some microgreens growers cut out harvest time entirely by delivering full trays of microgreens live to their customers!
5) Deal With Mold And Fungus Early
At some point during your microgreens growing, you’ll likely experience problems with mold or fungus at some point.
There are lots of things that can cause these problems like having heat or humidity too high, keeping your growing medium too wet, or planting seeds together too densely.
You can proactively prevent mold and fungus by watching carefully for those specific problem issues. But sometimes these problems can affect even the best of us.
If you do find mold or fungus on one of your microgreens, it’s usually safest to take the entire tray out of the growing area and dispose of it before it has a chance to infect your entire operation.
If the issues are still in the early stages and not too severe, you can try to fight them by spraying your microgreens and trays with a diluted hydrogen peroxide solution made from 1 teaspoon of hydrogen peroxide per gallon of water.
6) Consider Investing In A Propagator
Just having your seeds in an enclosed space while they germinate can speed up your operation and increase germination rates. But if you’re running a serious microgreens business, you may want to buy a propagator to improve your process even further.
A propagator is an enclosed chamber that has a heating element, and it’s able to maintain a specific temperature and level of humidity.
Most varieties of microgreen seeds tend to germinate best at around 75 F (24 C) and when kept in a consistently humid and moist environment.
Using a propagator can help achieve these specific conditions and give your seeds an extra boost in the beginning.
For a home grower, a propagator might well be too much of an investment. But you can still improve your microgreen growing by using a heat mat and trapping in humidity around your seeds using moist paper towels or a tray cover.
7) Be Aware Of The Sun
Unless you’re growing your microgreens in a room without windows, you need to take any natural sunlight that your plants are getting into account as well.
If you’re using artificial lighting, you may not need to run it for as many hours each day (or at all) in the summer or on particularly sunny days.
Especially if your microgreens are growing on a window ledge or somewhere that they’re receiving direct or indirect sunlight throughout the day.
You might want to consider shading your plants to offer them some protection if they’re getting too much sunlight.
8) Keep Track Of Your Seeds
Most seeds you buy to grow microgreens with are only good for a year or two. After that their germination rate will start to go down, and they can run into all kinds of problems.
It can be tempting to buy seeds in huge amounts to take advantage of bulk discounts. But there’s really not much use in keeping more than a year’s supply of seeds on hand at any given time.
When storing seeds, make sure to seal the package tight. Keep seeds stored in cool, dark, dry places. Light can damage them, and if they accidentally get too wet or humid they might start to sprout in storage.
9) Don’t Be Afraid To Experiment
A big advantage to growing microgreens over conventional crops is that they have a short harvest cycle and they’re relatively inexpensive to grow.
So don’t be afraid to try several different growing mediums before you decide on which you like best, and which seems to deliver the best yield and results.
Learn more about growing mushrooms and microgreens and why are both great crops that you should consider growing;
Check these 30 Of The Best Microgreens Recipes Ideas;
Read Hot to To Grow Sunflower Microgreens Fast And Easy.
Save
Post navigation
← Previous Post
Next Post →
Related Posts
How To Grow Oyster Mushrooms: The Ultimate Step By Step GuideREAD MORE
How To Grow Mushrooms On Logs: The Ultimate GuideREAD MORE
Top 13 Most Profitable Crops To GrowREAD MORE
21 Of The Best Small Scale Farming Ideas