HOW TO SOW BOK CHOY SEEDS
You have two choices when it comes to sowing your bok choy seeds: direct sowing, and starting the seeds indoors followed by transplanting them into the ground.
There are some pros and cons to each approach. Let’s talk about them!
DIRECT SOWING:
The advantage of this method is that it’s a bit easier, in that you don’t need seed trays or a greenhouse/grow lights to start growing bok choy. You can just put the seeds into the ground and watch the plants grow!
You’re also seeding the vegetables directly into the soil they will continue growing in, avoiding the “transplant shock” of moving a seedling from a plug or tray into the soil.
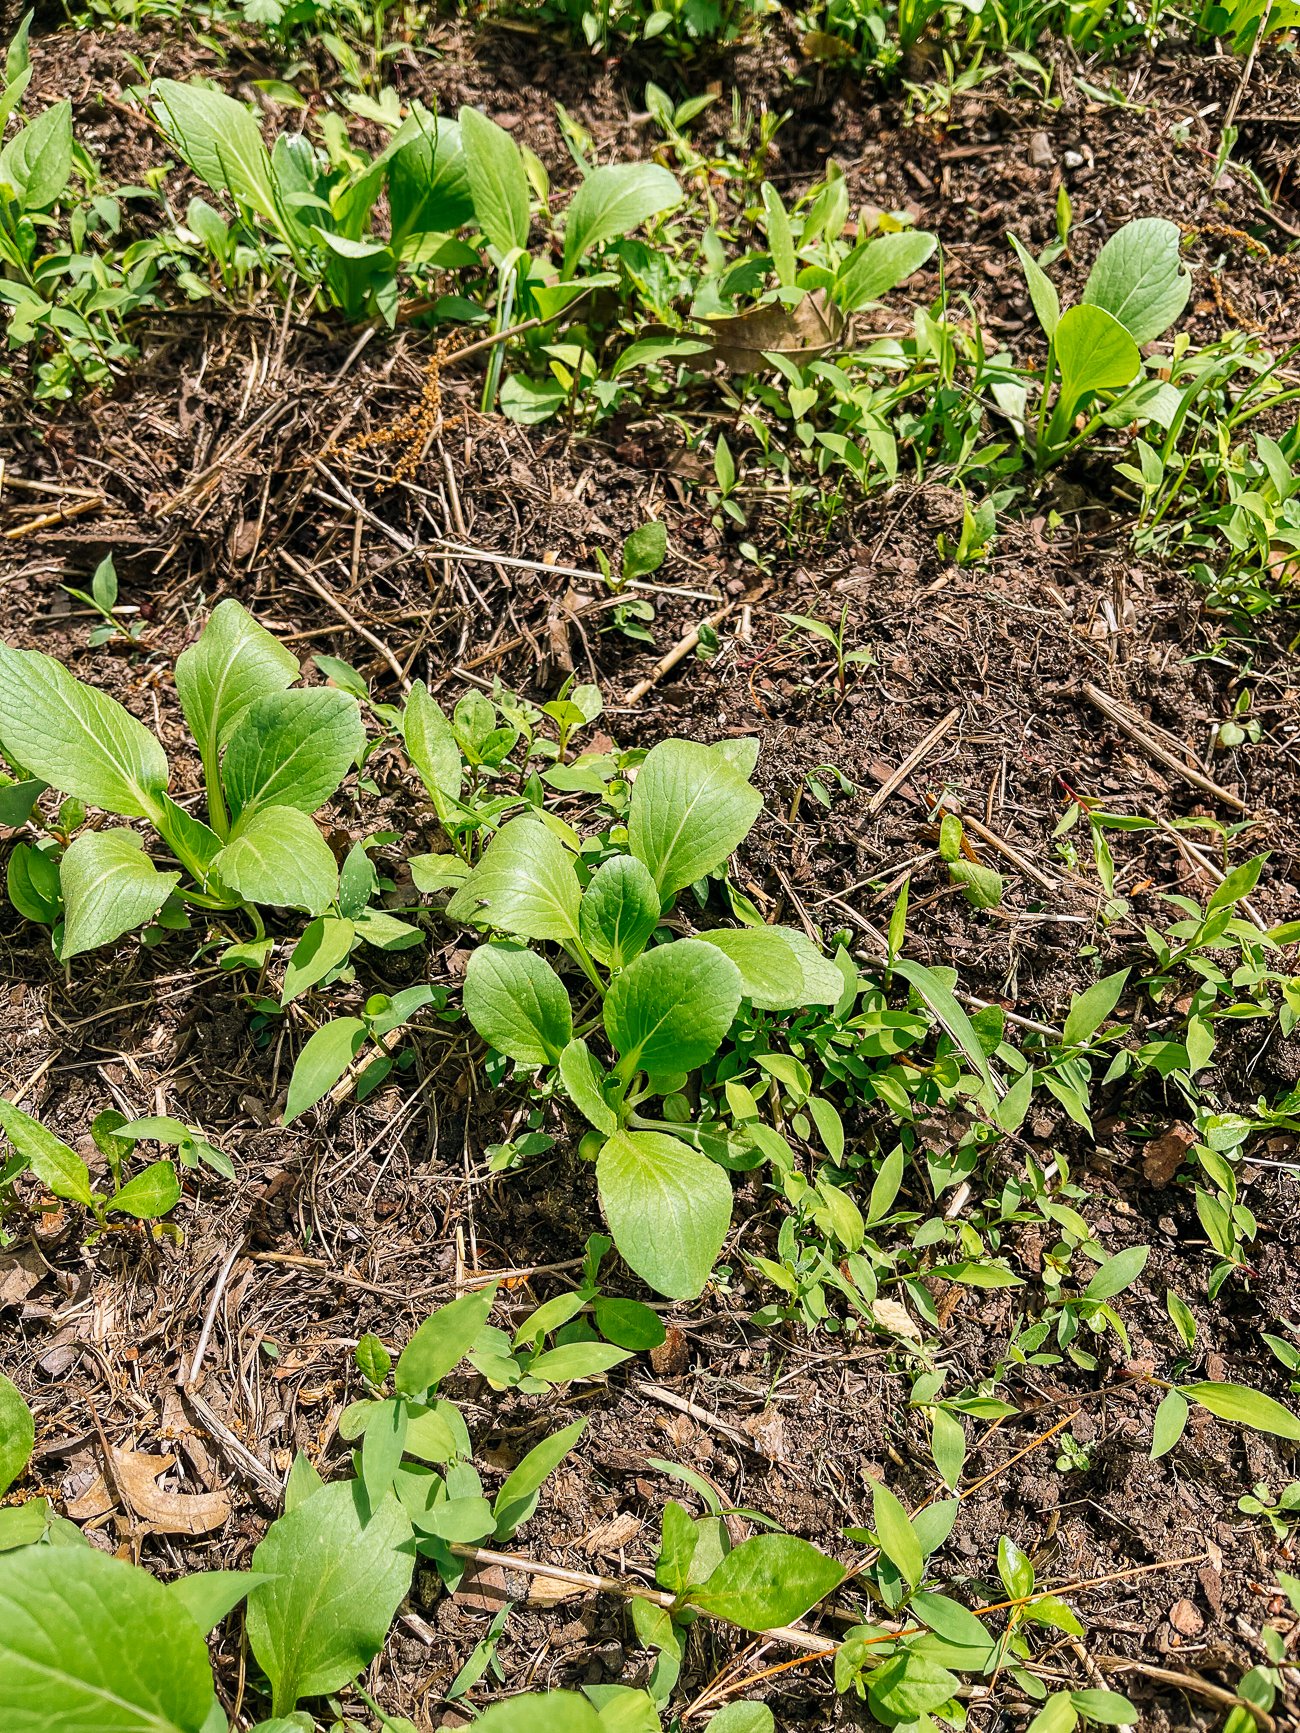
The disadvantage here is that if you have “heavy weed and pest pressure,” as Christina calls it, your small seedlings can get outcompeted or eaten before they have a chance to grow.
Direct sowing is ideal for containers, or if your garden beds are relatively weed and pest-free.
How To Direct Sow Bok Choy
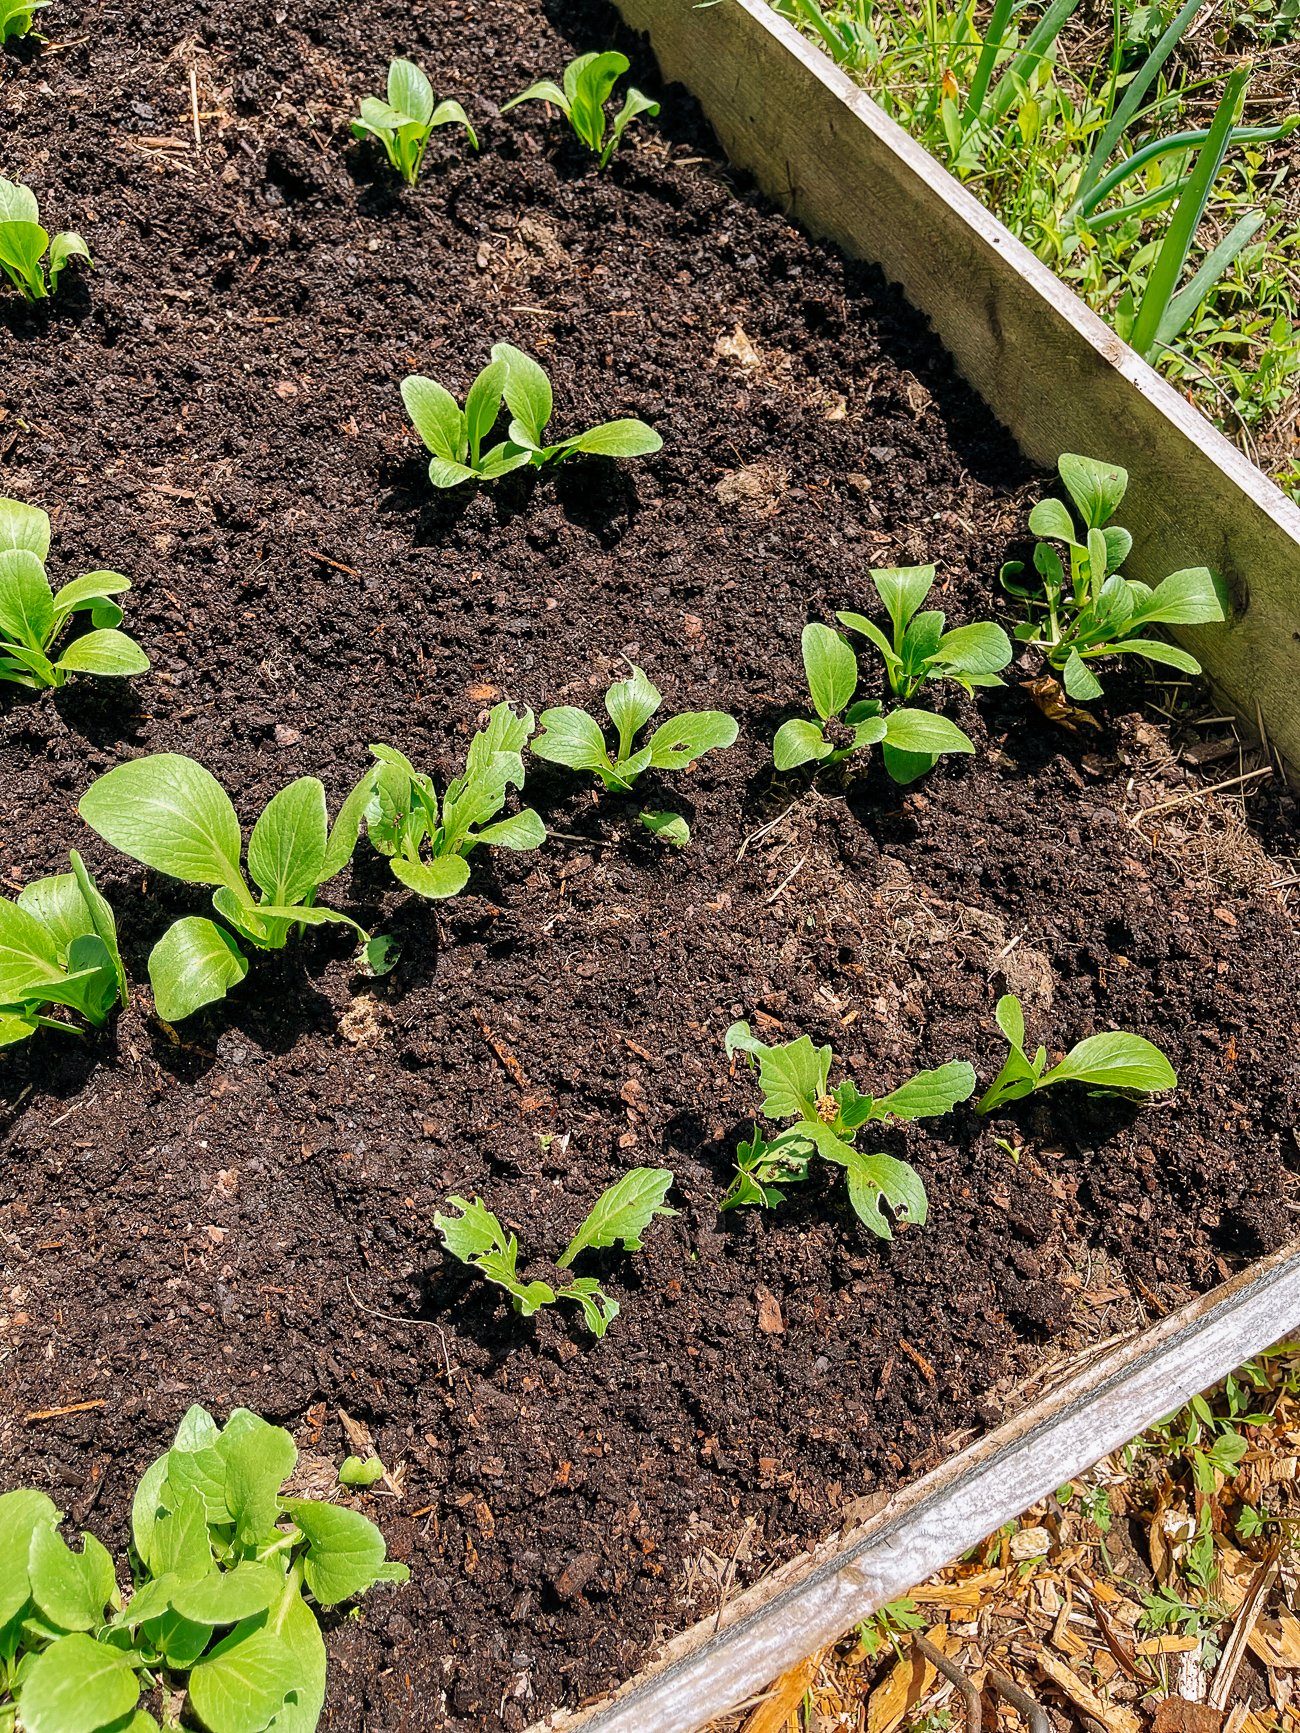
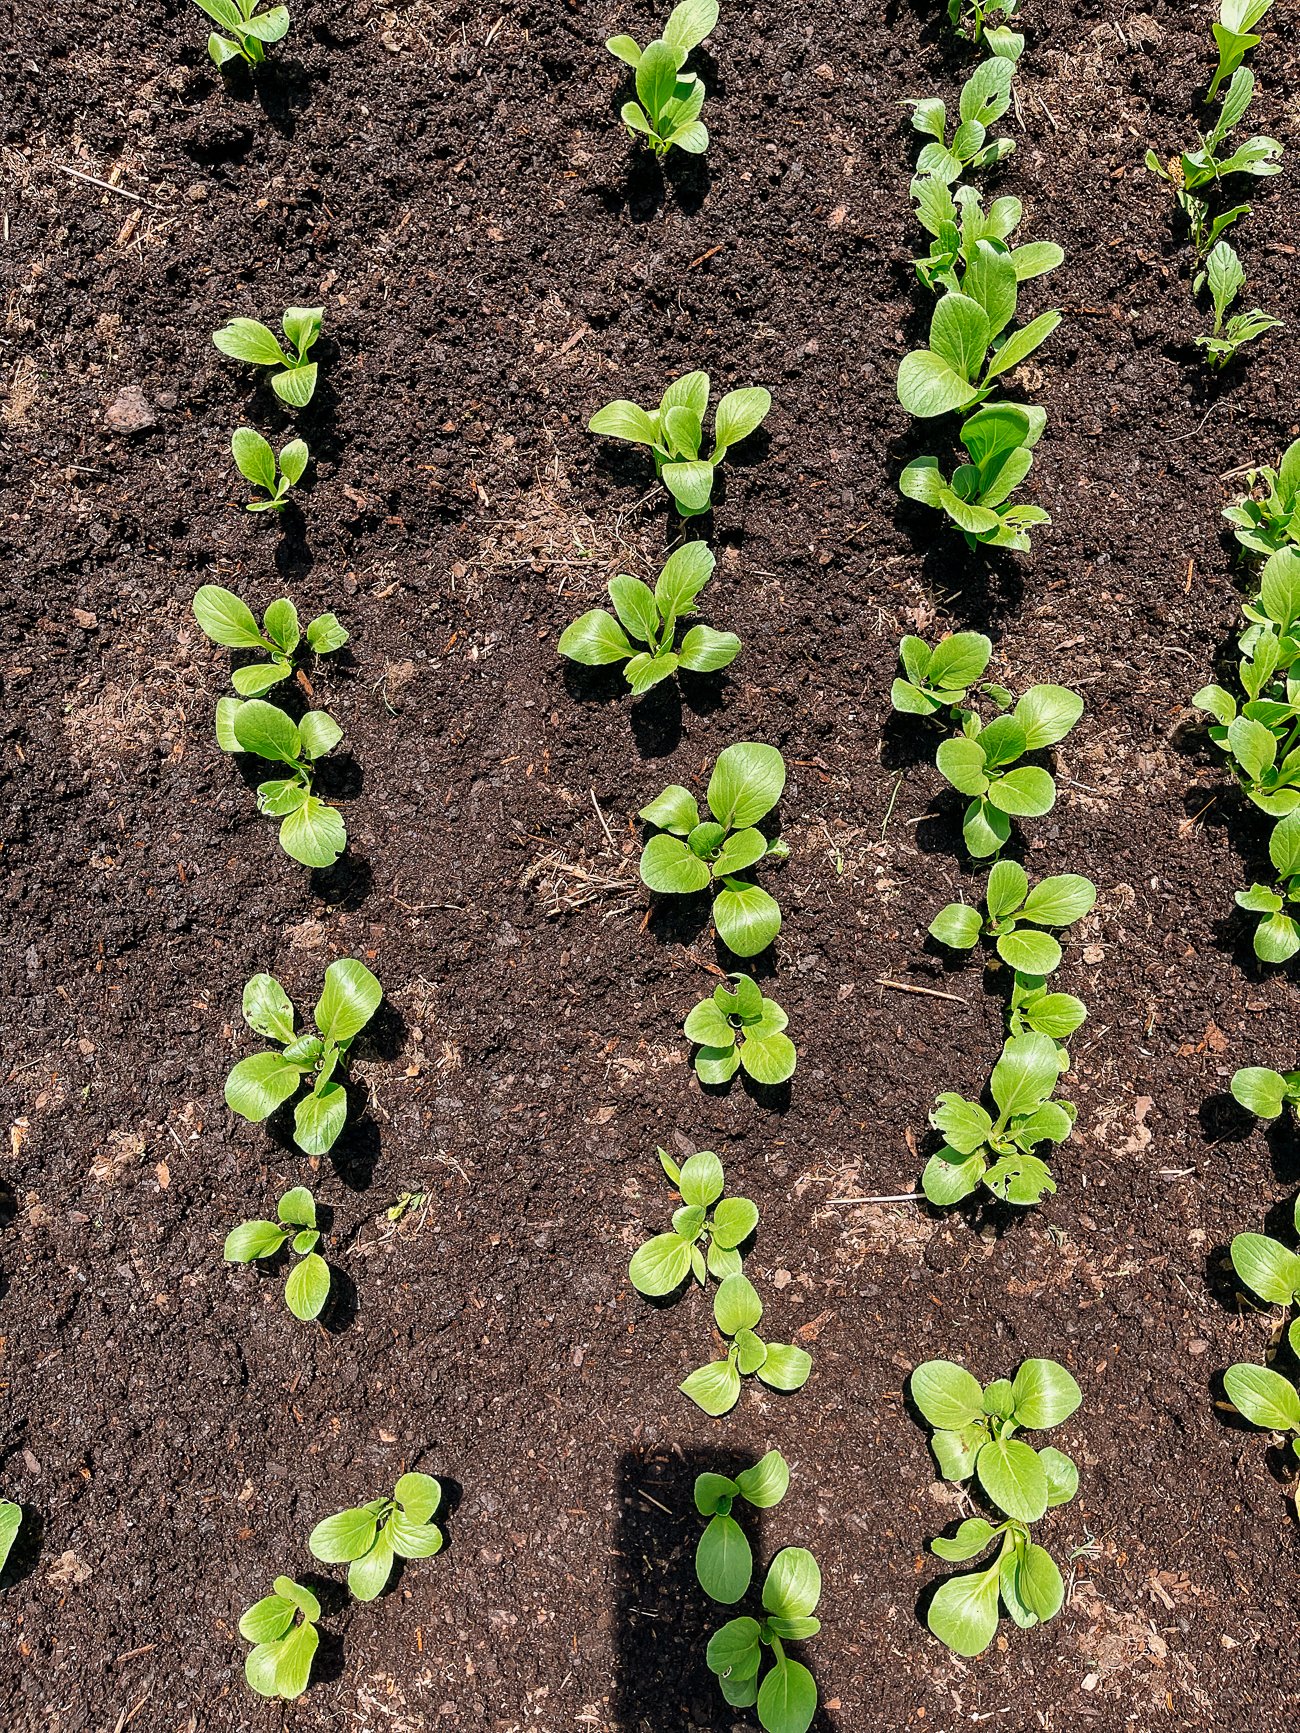
- Sow seeds about ¼ to ½ inch (about 1cm) deep, every 2 to 3 inches (5-7cm) in rows 6 inches (15cm) apart. Water (best to use a fine sprinkle rather than a strong jet or glug of water that may wash away the seeds), and wait for them to germinate.
- Christina suggests that after the seedlings reach about 1 to 2 inches (about 3-5cm) in height, you can thin them out to one seedling every 6 inches/15cm.
THINNING LATER?
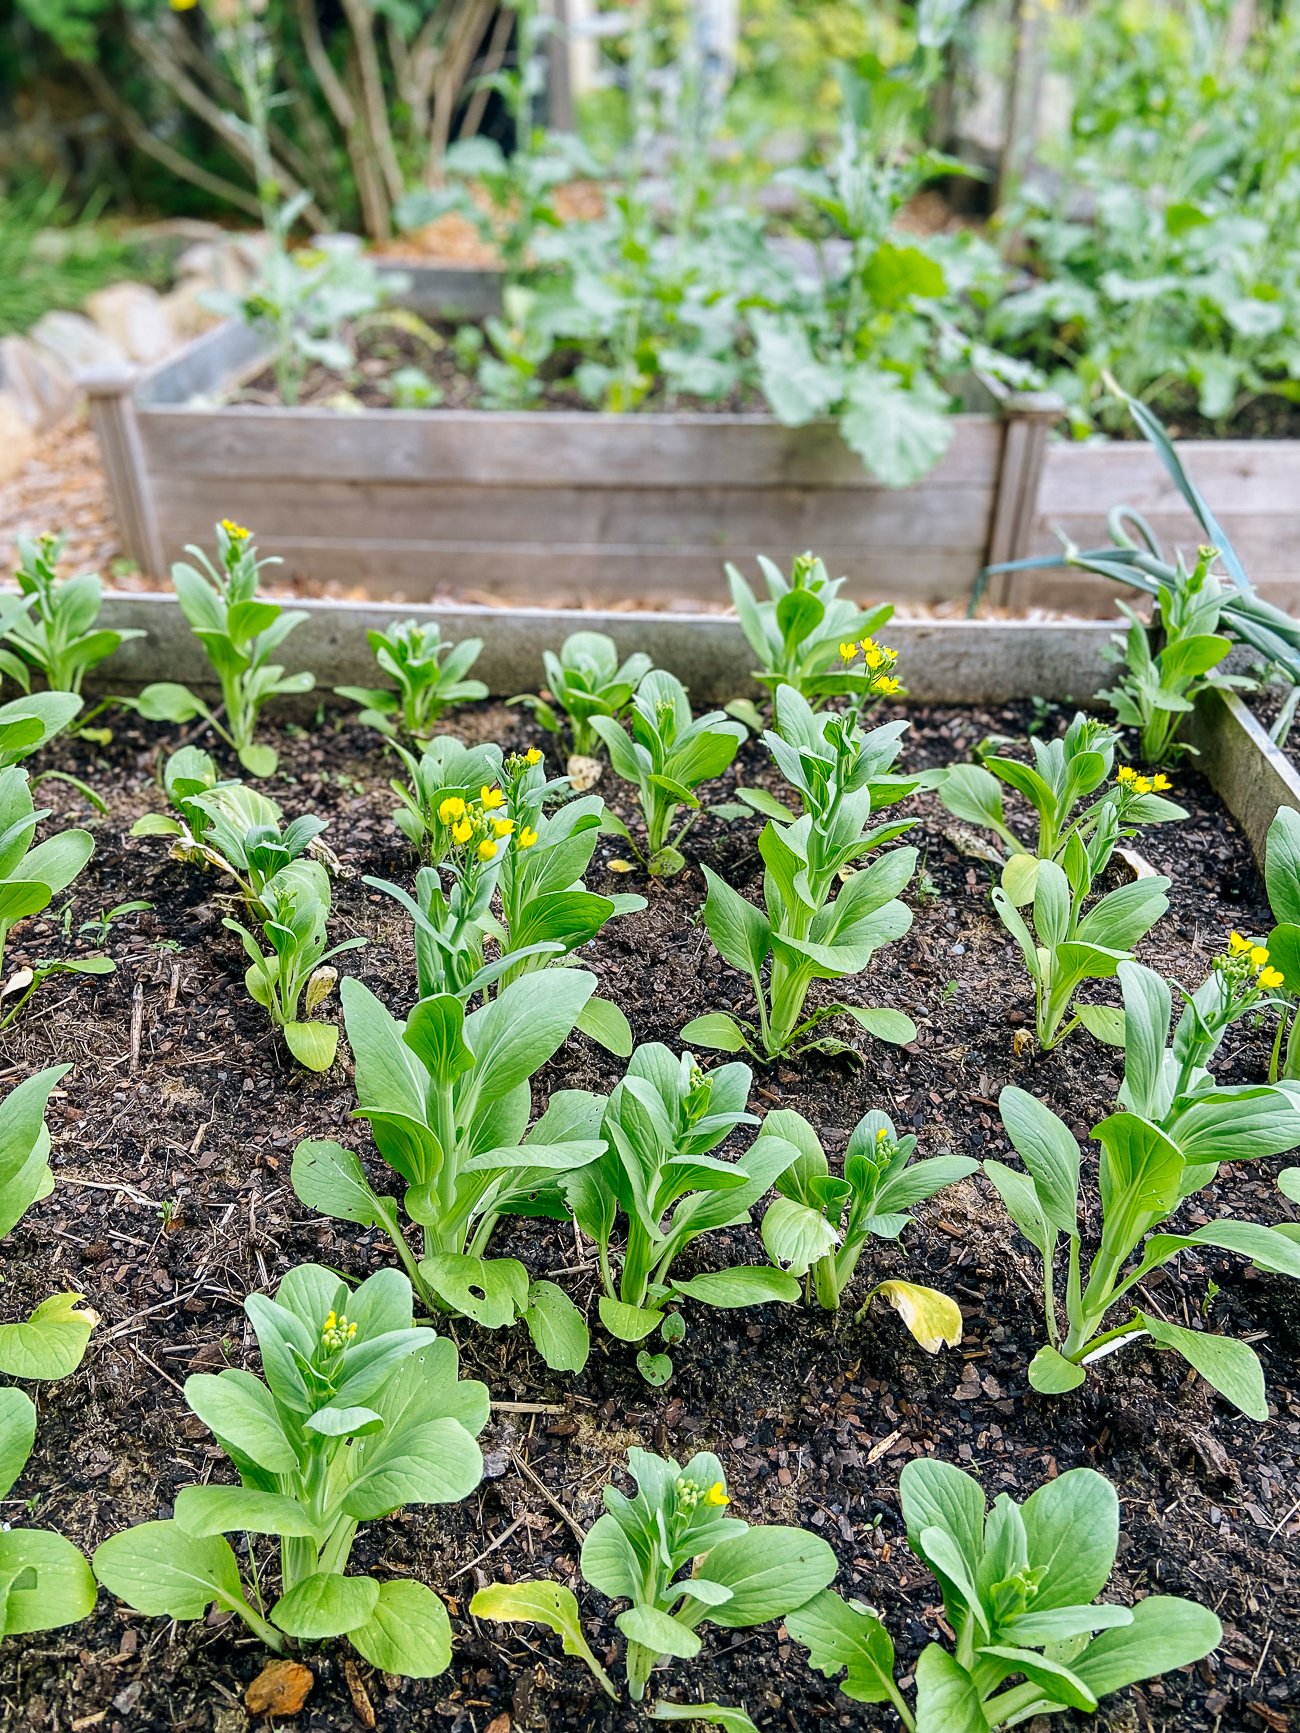
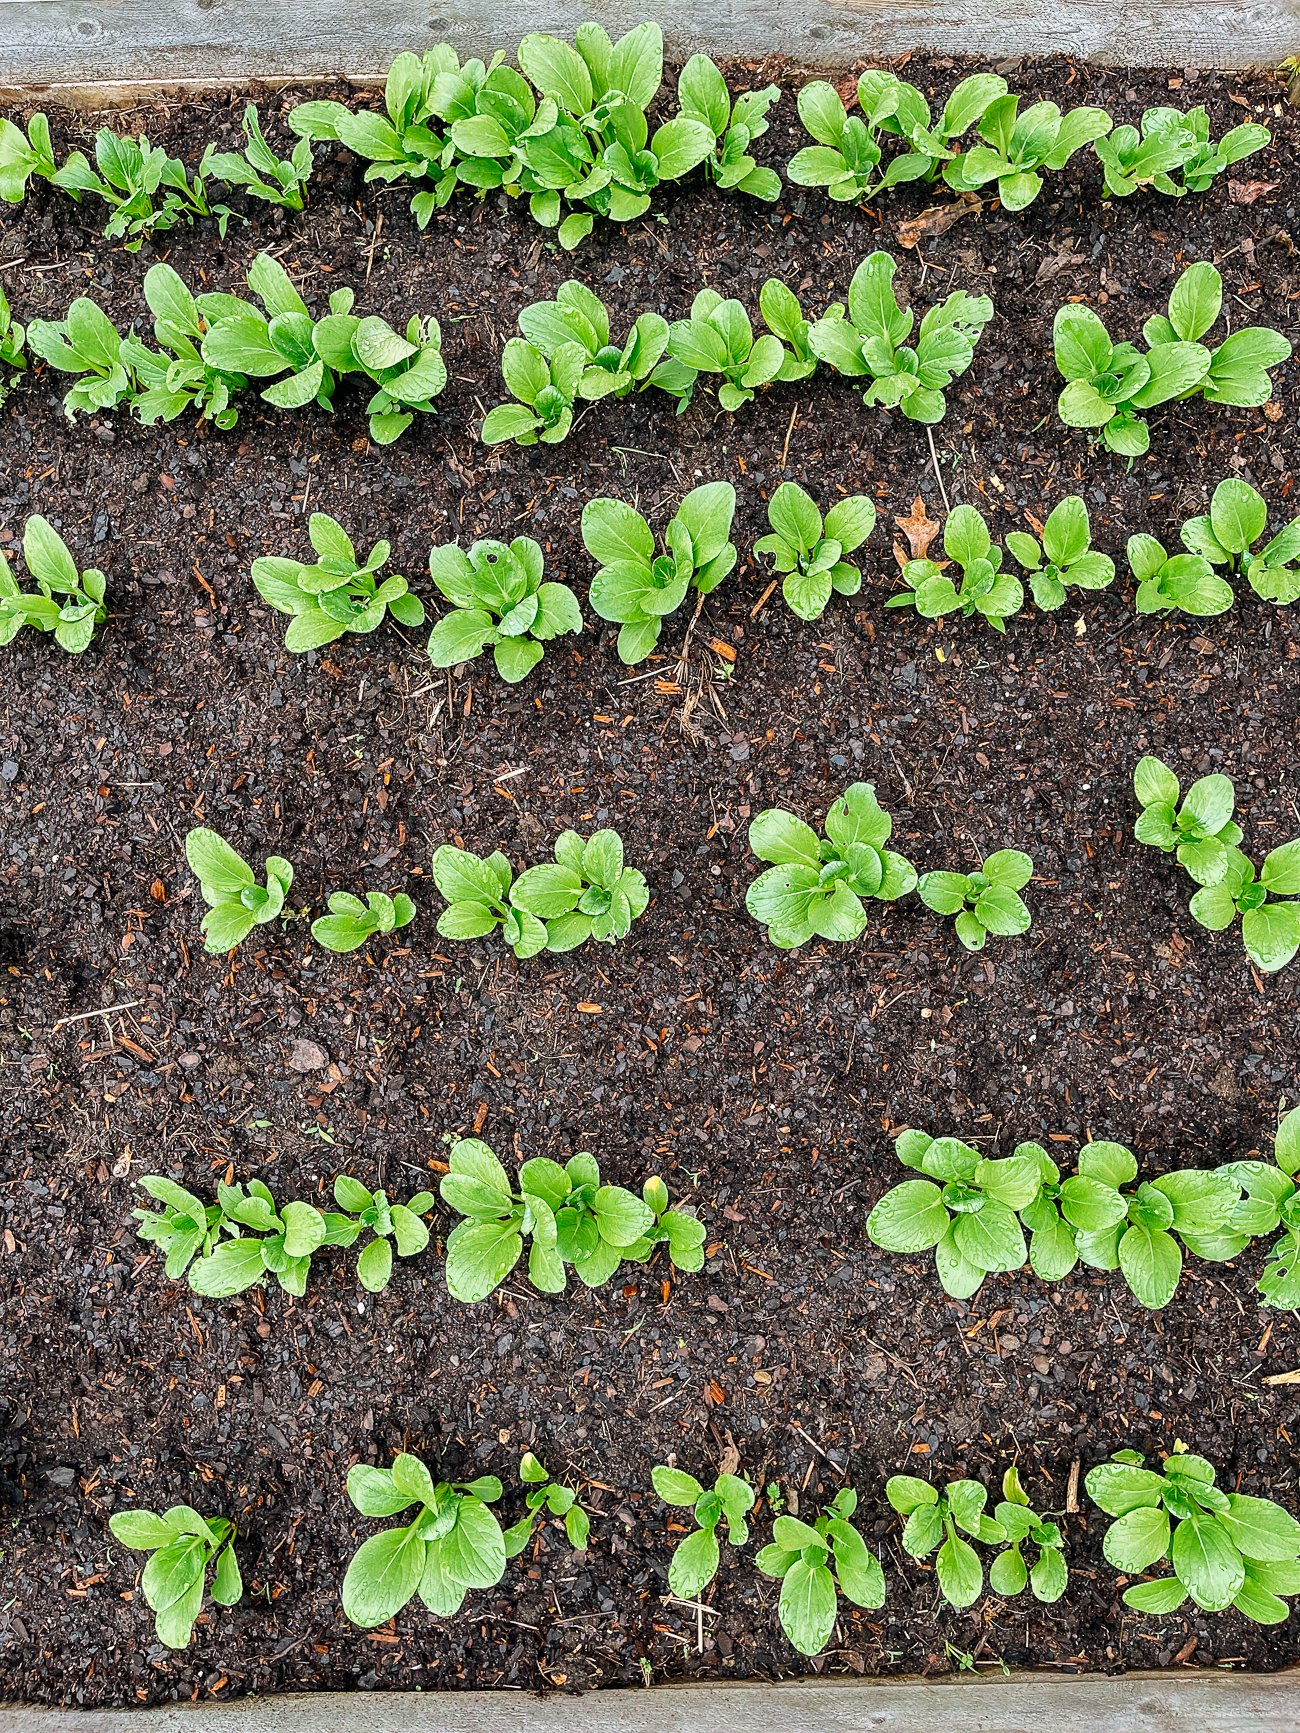
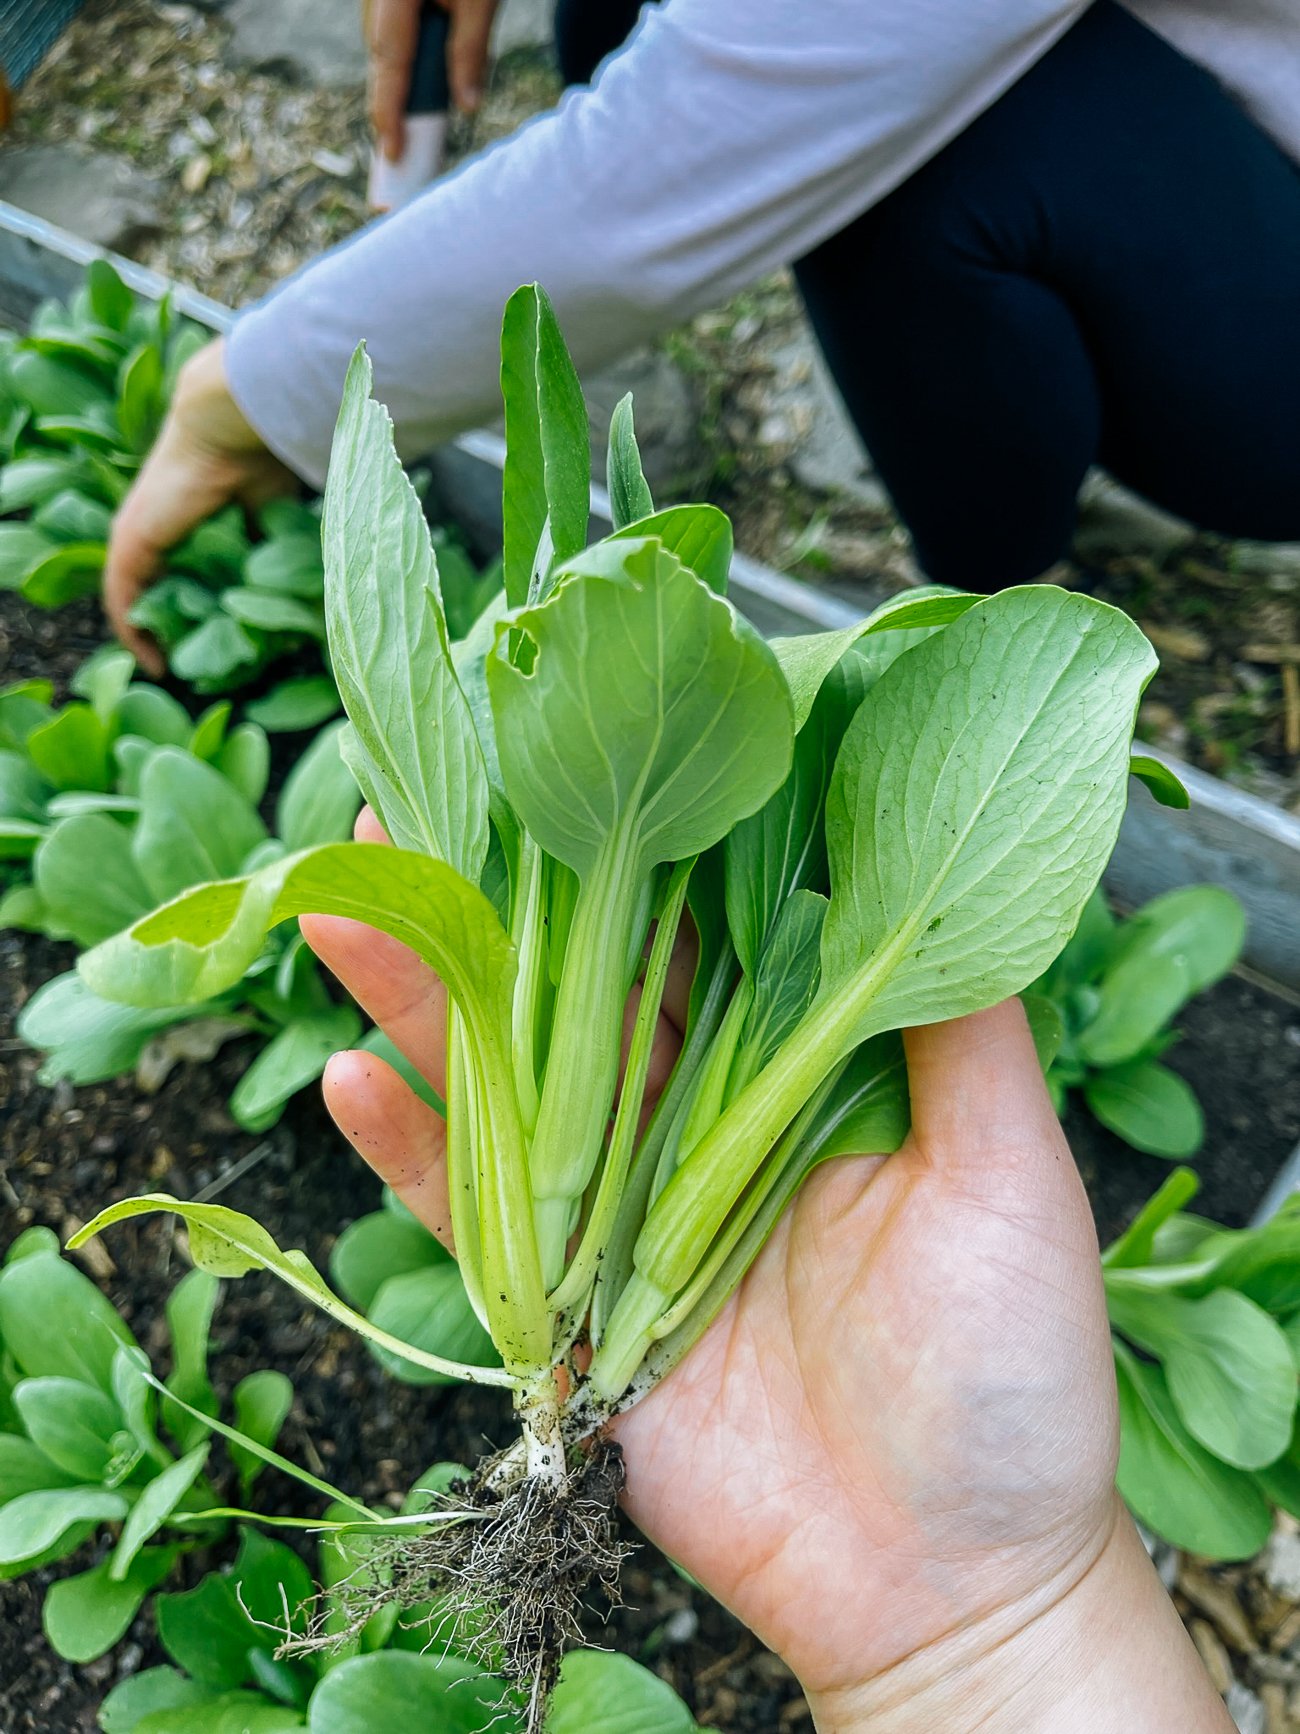
We ended up letting our bok choy plants get a bit larger than that before thinning them out. They were about 5 to 6 inches (13-15cm) tall.
While the individual bok choy stems were not quite as robust as they could’ve been, the advantage of this was that we were able to harvest good size baby bok choy as we thinned, accomplishing two things at once: thinning and dining!
STARTING SEEDS INDOORS & TRANSPLANTING:
The advantage of this method is that you can grow young seedlings in a protected area before transplanting them outside. This allows the plants to establish, which will make them more resistant to weeds and pests.
You can also start your seeds earlier, since they’ll be in a protected area in their first few weeks. This can help you extend your harvest if you’re sowing them in succession.
It can also ensure that you are able to transplant your bok choy outside when temperatures are still relatively cool (but when all danger of frost has passed!).
How To Start Seeds Indoors And Then Transplant Them Outside:
Start seeds indoors about 2-3 weeks before planting outside.
- In a seed tray with a couple inches (5cm) of depth, sow seeds a couple inches apart, about ¼ inch to ½ inch (about 1 cm) deep. A good rule of thumb for most seeds is sowing them about as deep as 2x the width of the seed itself. You can use a sterile seed starting mix, garden compost, or a good peat-free organic potting soil. Cover them lightly, water them, and place on a warm windowsill or heated mat to germinate. (We found the heat mat expedites the process considerably.) For even faster results, cover the seed trays with a plastic bag or clear plastic lid (recycled plastic salad boxes work great for this purpose). This keeps the air humid, which encourages germination. Water as needed. The trays should remain moist but not sodden.
- Once the seedlings begin to emerge, remove any plastic lids and place in a very well-lit, well-ventilated, and ideally somewhat cool area. They need a lot of light at this stage, or may grow “leggy.” This happens when the seedlings reach for light, resulting in weak, spindly growth. We recommend investing in grow lights for the best results. (We did not use grow lights for our seedlings this year, instead using a very sunny windowsill, and regretted this decision.) Of course, if you have a greenhouse, that would be perfect. If not (most of us don’t have this luxury!), a cool basement with grow lights and an open window or oscillating fan running a good distance away is an ideal indoor makeshift “greenhouse.”
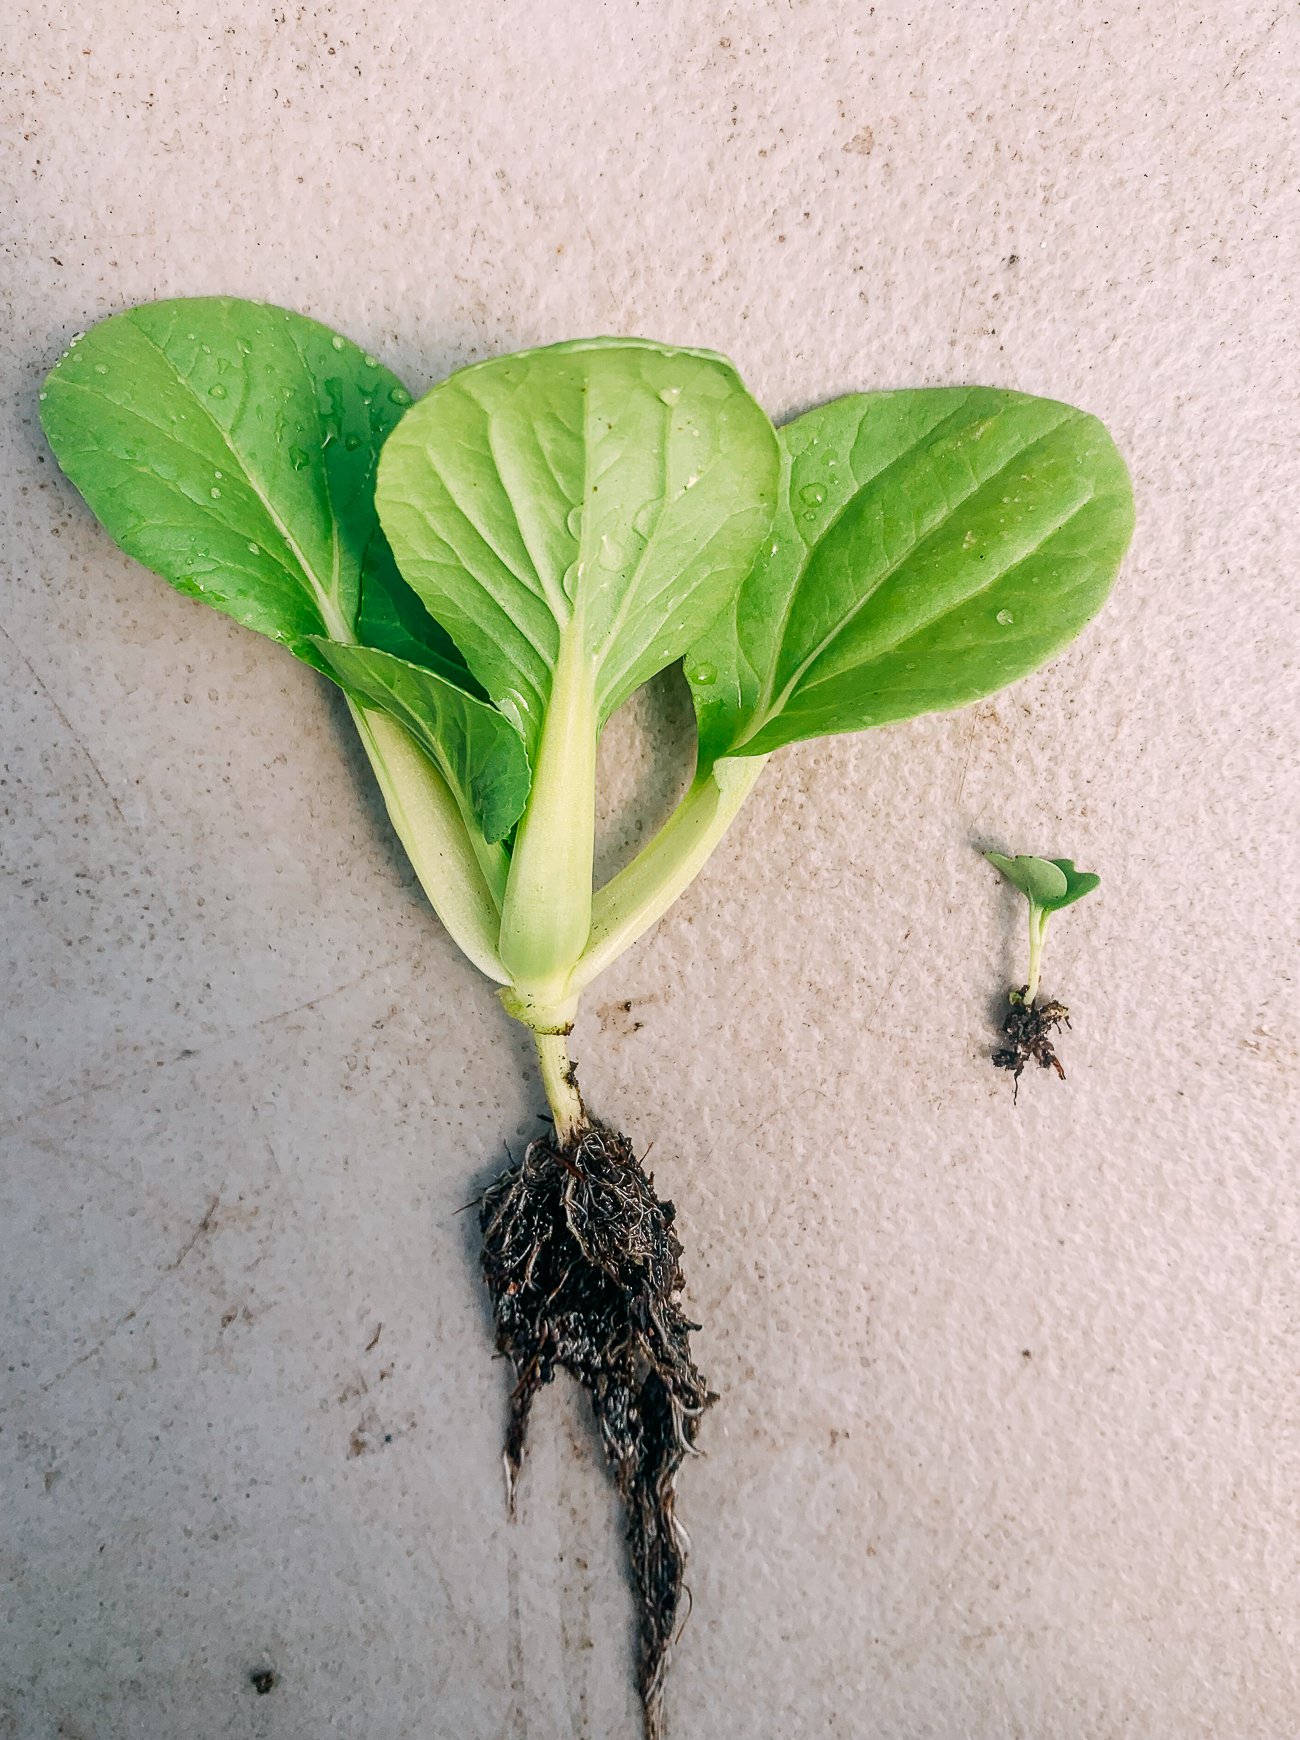
- The first leaves to emerge are known as the “seed leaves” or “cotyledons.” These leaves collect the energy needed to produce the next set of leaves, which are known as “true leaves.” When the seedlings have 2 sets of true leaves, they are ready to be transplanted outside. Before doing that, however, it’s a good idea to harden off the plants. “Hardening off” a plant is a process by which you create a transition between its indoor and outdoor environment. You keep the seedlings in the plugs and trays they’re in, but put them in a relatively protected outdoor location to allow them to acclimate to the elements (sun, wind, and rain) before transplanting. You can harden them off for a few days, or up to a week, since bok choy is so fast-growing.
- Carefully tease out each seedling, keeping as much of its root ball intact as possible, and plant them in the ground 6 inches (15 cm) apart. Water in well.
WHY PEAT-FREE?
You may be wondering why I mentioned “peat-free” potting soil above, when so many garden products, from potting soil to biodegradable plant pots, are made with peat. Peatlands store a third of the world’s soil carbon. When peat is harvested, it releases huge amounts of stored carbon dioxide into the atmosphere! Plus, it grows back extremely slowly—about 1mm per year. If you can find a peat-free option, definitely go with it. Or even better—try making your own garden compost!
We’re in the midst of our composting journey, and while we’re not experts at it yet, we will definitely share our findings here on the blog.
HARVESTING BOK CHOY
Bok choy is edible at all stages. You can harvest any medium or large variety early for baby bok choy.
Some bok choy varieties are grown to a small mature size, like dwarf bok choy. This type of bok choy will not continue to grow past a certain size, and should be harvested when it reaches the number of days to maturity indicated on your seed packet.
Usually, the whole head is harvested by cutting at the base of the plant. It is also possible to harvest individual outer stems, which will allow the center point of the plant to keep growing.
It’s best to harvest bok choy as you cook and eat them for optimal freshness. Otherwise, you can store it unwashed in a reusable bag or sealable container in the refrigerator for up to 4 days.
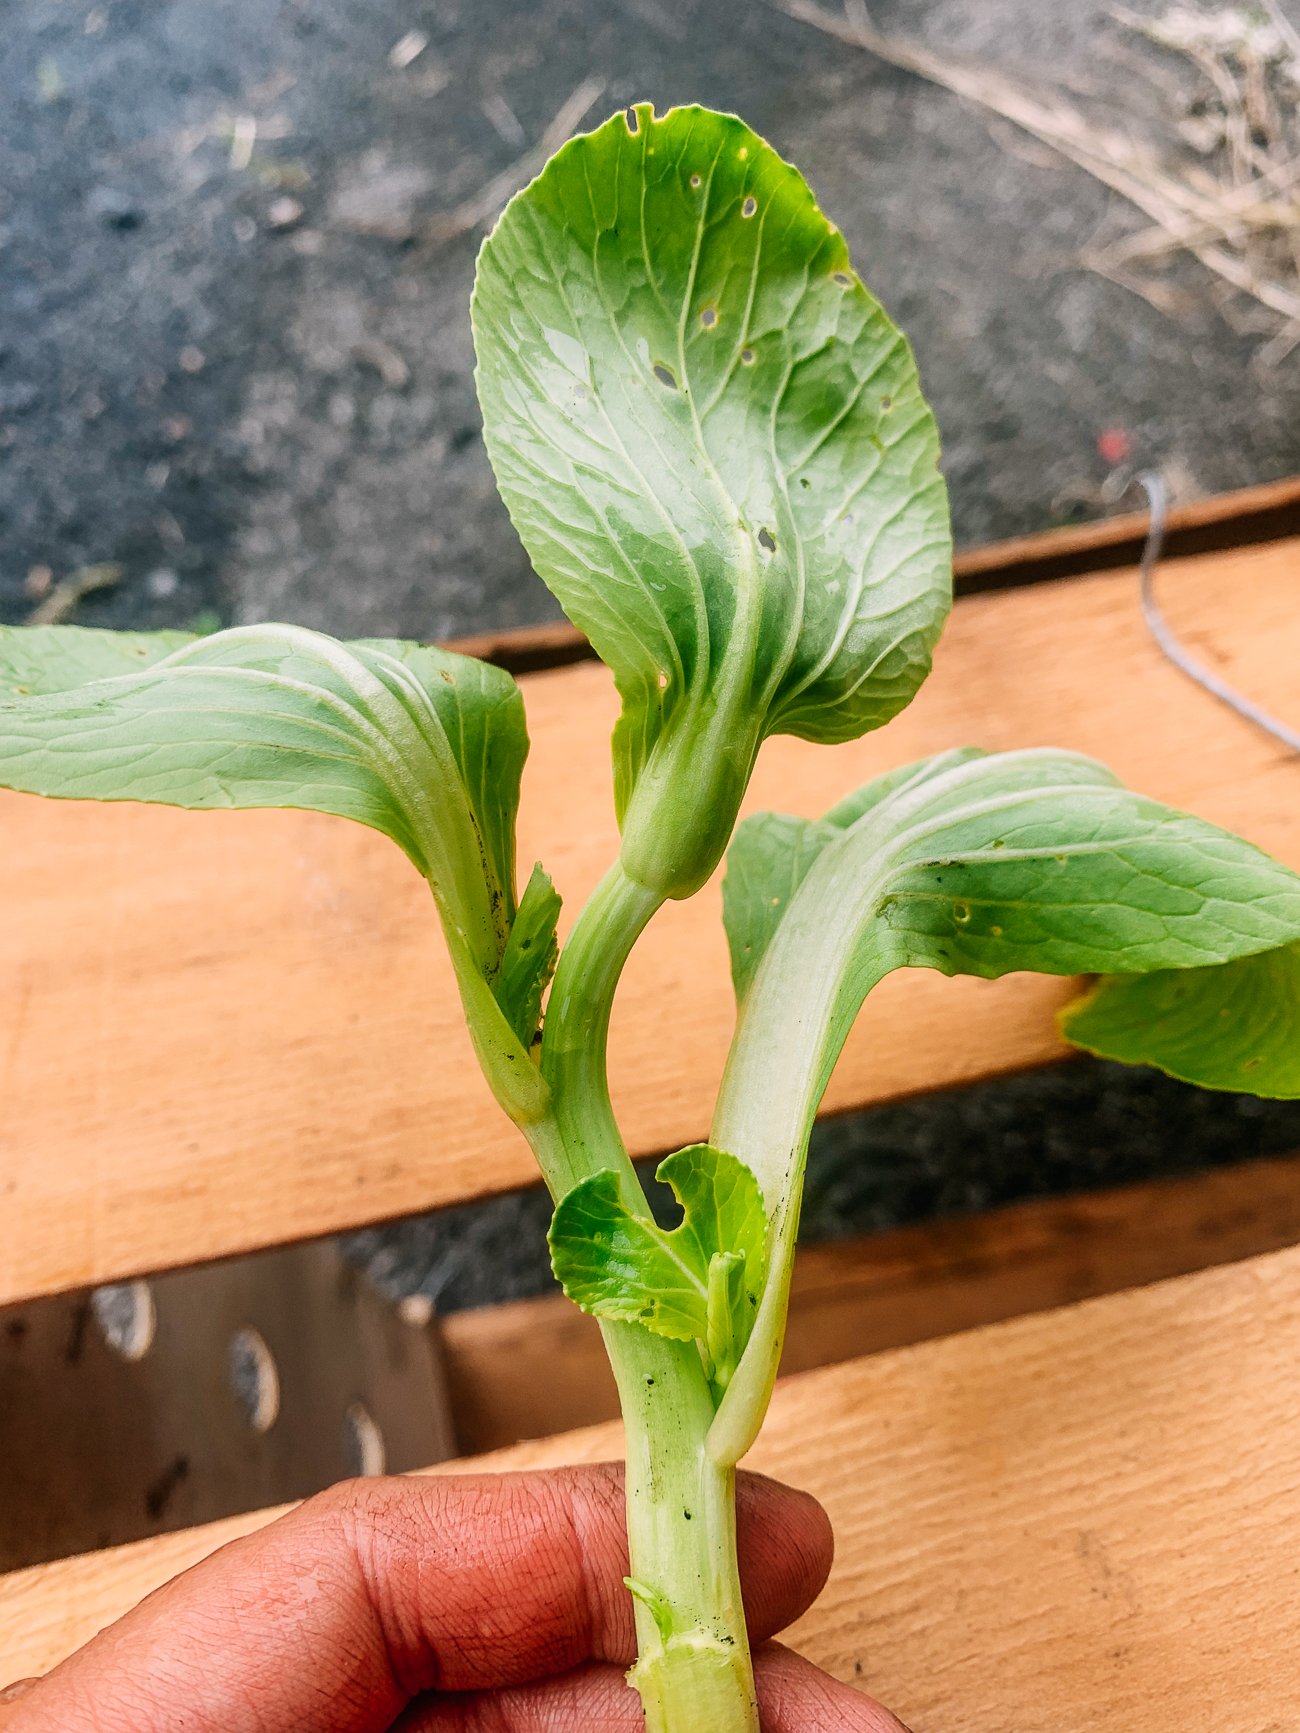
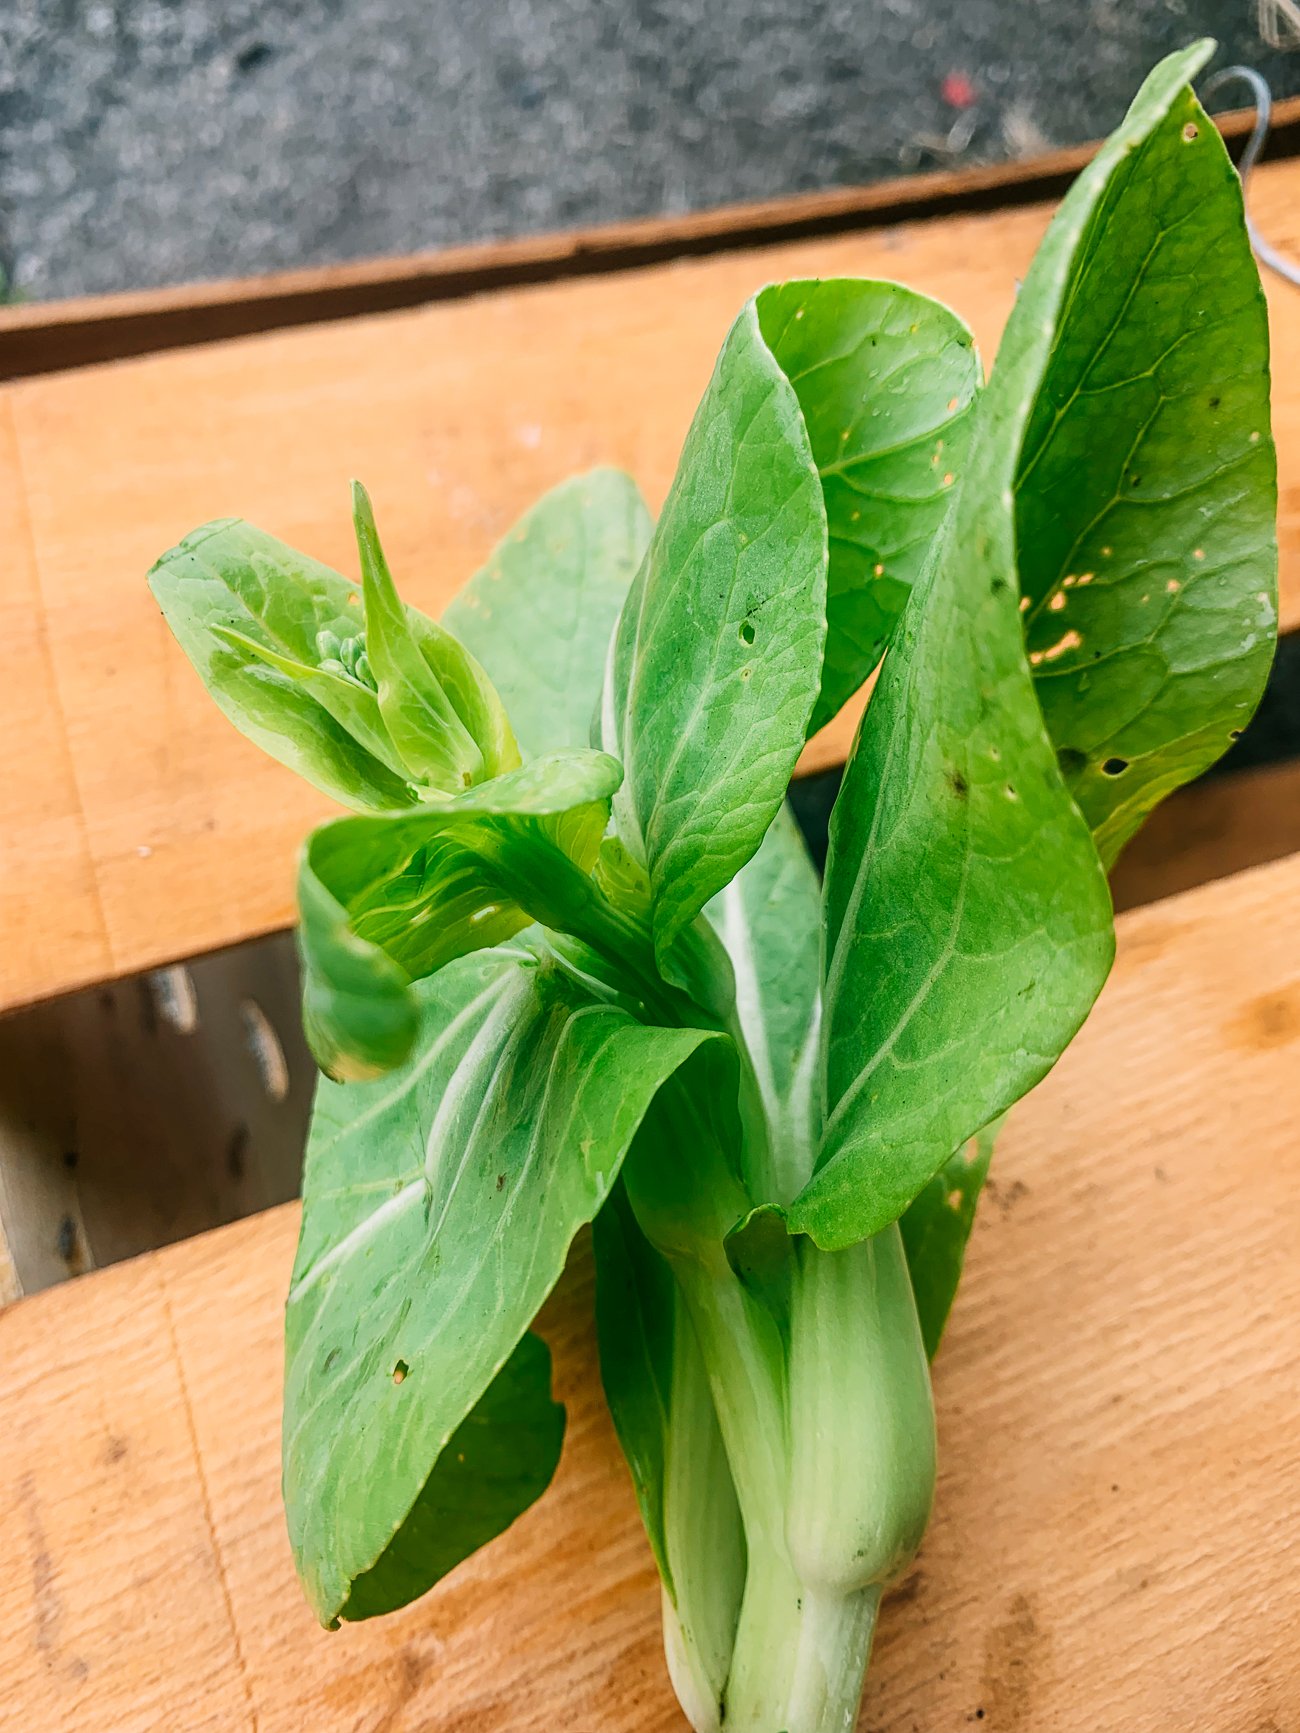
If a flower bud has started to form that looks like broccoli, that is the start of bolting (see the next section).
It is still tender and tasty at this point, but once the flower bud extends upwards and begins to flower, the plant becomes tough. It will then set seed, so it’s best to harvest it sooner than later!
PROBLEMS YOU MAY ENCOUNTER & HOW TO AVOID/MANAGE THEM
Here are some common garden challenges you may have when it comes to growing bok choy, from premature bolting, to pests and weeds!
We have tips on how to deal with each, coming from both Christina’s professional advice and our own experience.
1. BOLTING
A random hot day of 90°F/32°C or higher can trigger your bok choy to bolt. “Bolting” is when the plant begins to flower prematurely and then sets seed. New leaf growth stops, and the plant dies after seeding.
This is a defense mechanism for the plant. If it’s too hot, watered inconsistently, or experiences dramatic temperature swings, the plant gets stressed. It then directs its energy into flowering and creating seeds to reproduce.
This can happen to many different crops, including other leafy greens like lettuce and spinach, as well as some root vegetables like beets and onions.

You may be tempted to plant your bok choy early in spring to take advantage of more consistently cool temperatures. However, these leafy greens also don’t like when temperatures dip too low (under 45-50°F/8-10°C).
According to The Vegetable Gardener’s Bible, even if your bok choy plants survive a frost, they can bolt later on if exposed to frosty temperatures!
Another idea is planting in succession, but while this is a good idea generally to help extend the harvest, young bok choy plants can bolt just like mature plants.
That said, one thing you can do is start the bok choy indoors and then plant them out when all danger of frost has passed, but temperatures are still cool.
Our bok choy did eventually bolt after a very hot day:
How to Deal with It:
The best defense against bolting is looking at the number of days to maturity for your particular variety—say, 45 days—and choosing a stretch of that time where temperatures are most likely to stick between 50°F and 80°F (10° to 27°C).
You can also look for bok choy varieties that are more tolerant to heat than others. If this is the case, it will usually say so on the seed packet.
If you live in an area where random hot days are common in spring (we certainly do, and this is increasingly the case due to climate change!), definitely try to find one of these varieties.
Another piece of advice from Christina? Begin harvesting early. You don’t have to wait for the entire plant to mature to harvest the larger outer leaves. As soon as you see signs of bolting, harvest the entire plant and use the smaller leaves in salads or delicate soups.
Says Christina, “According to several excellent cooks I know, flowering bok choy isn’t the disaster some gardeners think. They claim that the flower stalks are tender and sweet and make a great addition to stir-fry and salads.”
We agree! As soon as your bok choy shows signs of bolting, harvest it and eat it!
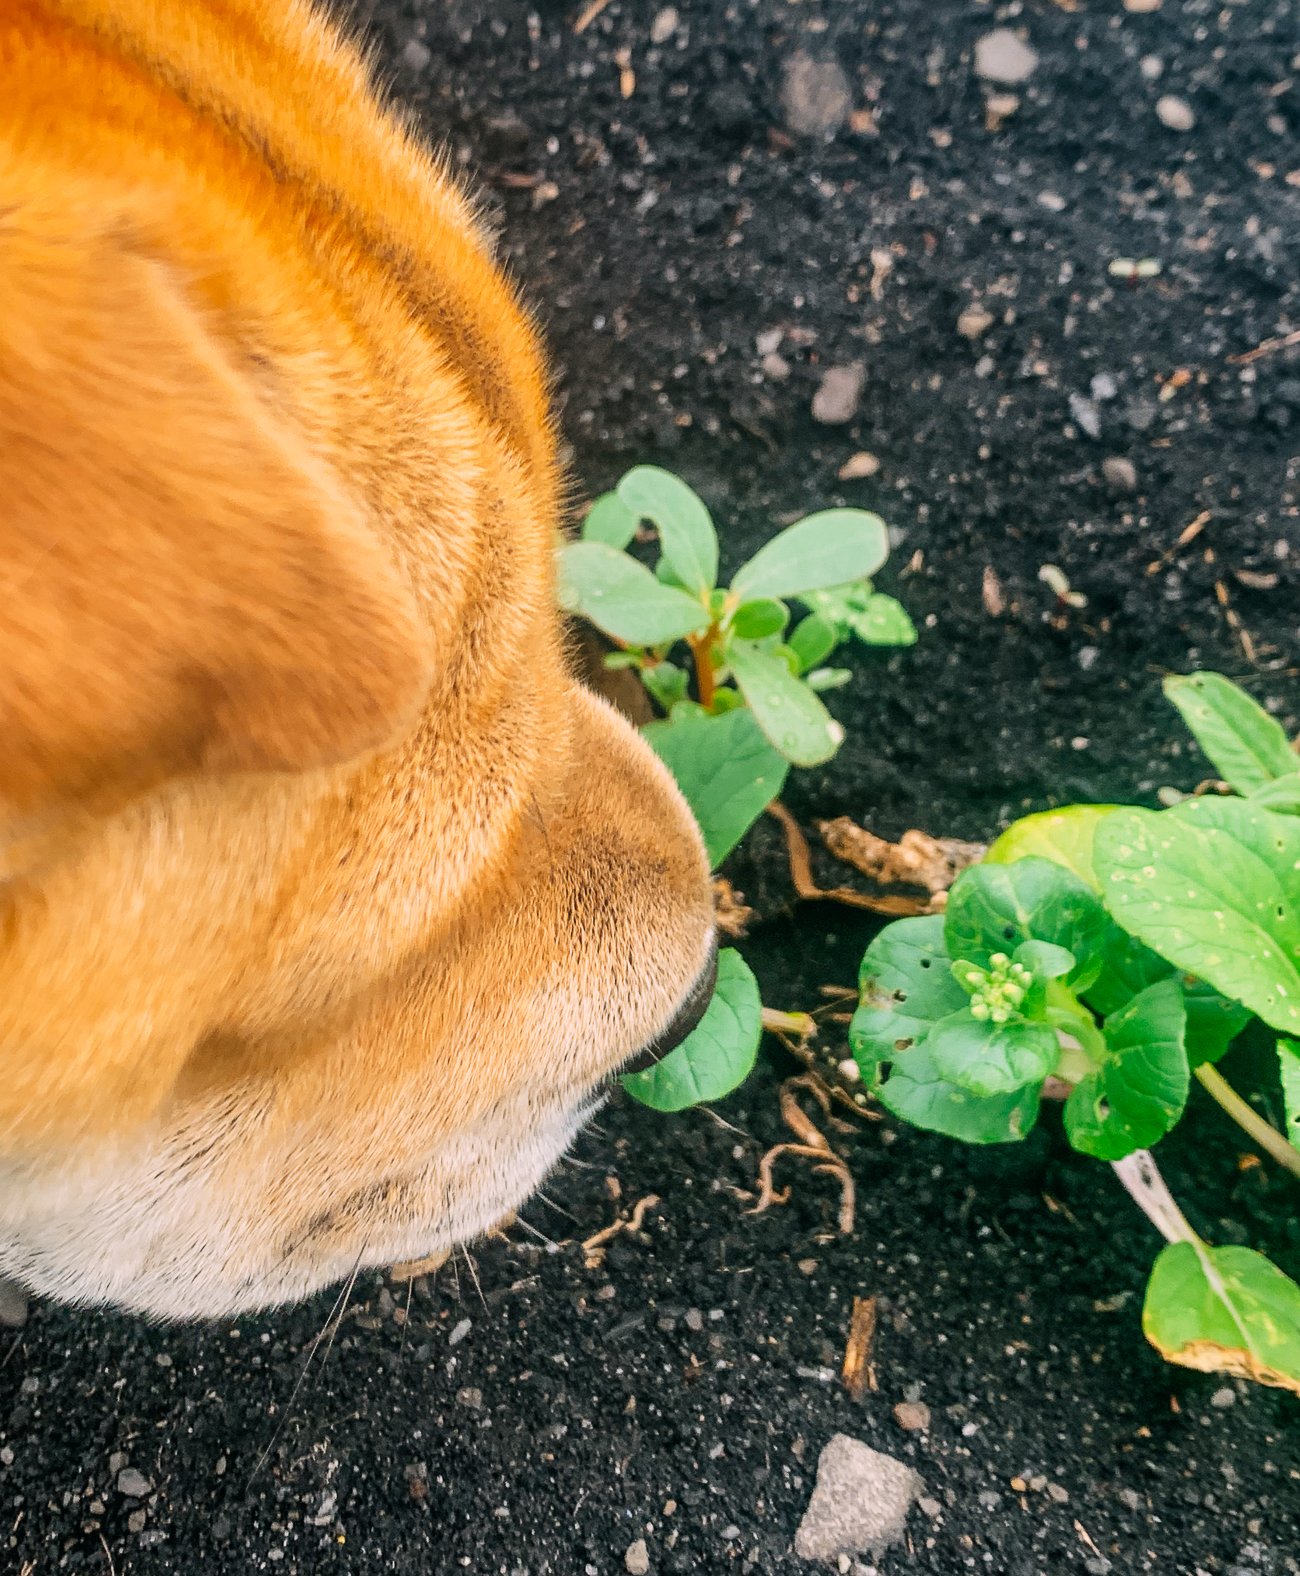
2. PESTS
Another problem you may encounter with these tender leafy greens is pest damage.
Common pests around bok choy include flea beetles and the cabbage moth. We’ve also had run-ins with slugs on our very wet property! Let’s go into each of these in more detail:
Flea Beetles: According to Christina, this pest is absolutely the reason why some crops are so heavily sprayed! It is the most prevalent, and affects all brassicas, not just bok choy. This small, shiny insect mimics the jumping motion of fleas, which is how it got its name.
Your bok choy plants are plagued by this particular pest if you see tiny holes in the leaves that look like miniature buckshot.
The good news is that the damage is mostly cosmetic, with no effect on flavor or texture. However, if left unmanaged, it can stress the plant, slow down growth, or “skeletonize” the plant’s leaves, causing irrevocable damage.
Here in the Northeast, these are an early spring and late summer/fall pest. Of course, this coincides directly with the bok choy growing season! You won’t see as many of them in the fall as in spring.
Cabbage Moth: When this particular insect is in its caterpillar stage, it will eat through bok choy leaves and leave behind dark green droppings that look like small pellets.
You’ll know you have them if you see the caterpillars on the leaves, those pelleted droppings, or the adult moths flying around the garden. In the Northeast, these are a late summer/fall pest.
Slugs: Slugs enjoy eating the young, tender leaves of all cruciferous vegetables, including bok choy (as we’re increasingly finding out, napa cabbage is one of their favorite foods, but more on that later).
They are especially common in damp areas, particularly cultivated areas like backyards, meadows, and fields. They also like damp cardboard and rotting wood, which provide a comfortable habitat.
Slug damage on leaves is pretty obvious. You’ll see irregular chunks taken out of the leaves that look like big ragged holes.
How to Deal with Them:
When it comes to jumping and flying insects like the flea beetle and cabbage moth, physical barriers are the best way to manage them.
Christina uses garden row covers, also known as floating row covers. These are made of a thin, woven white fabric that allows light, air, and water to pass through. This fabric also traps in heat.
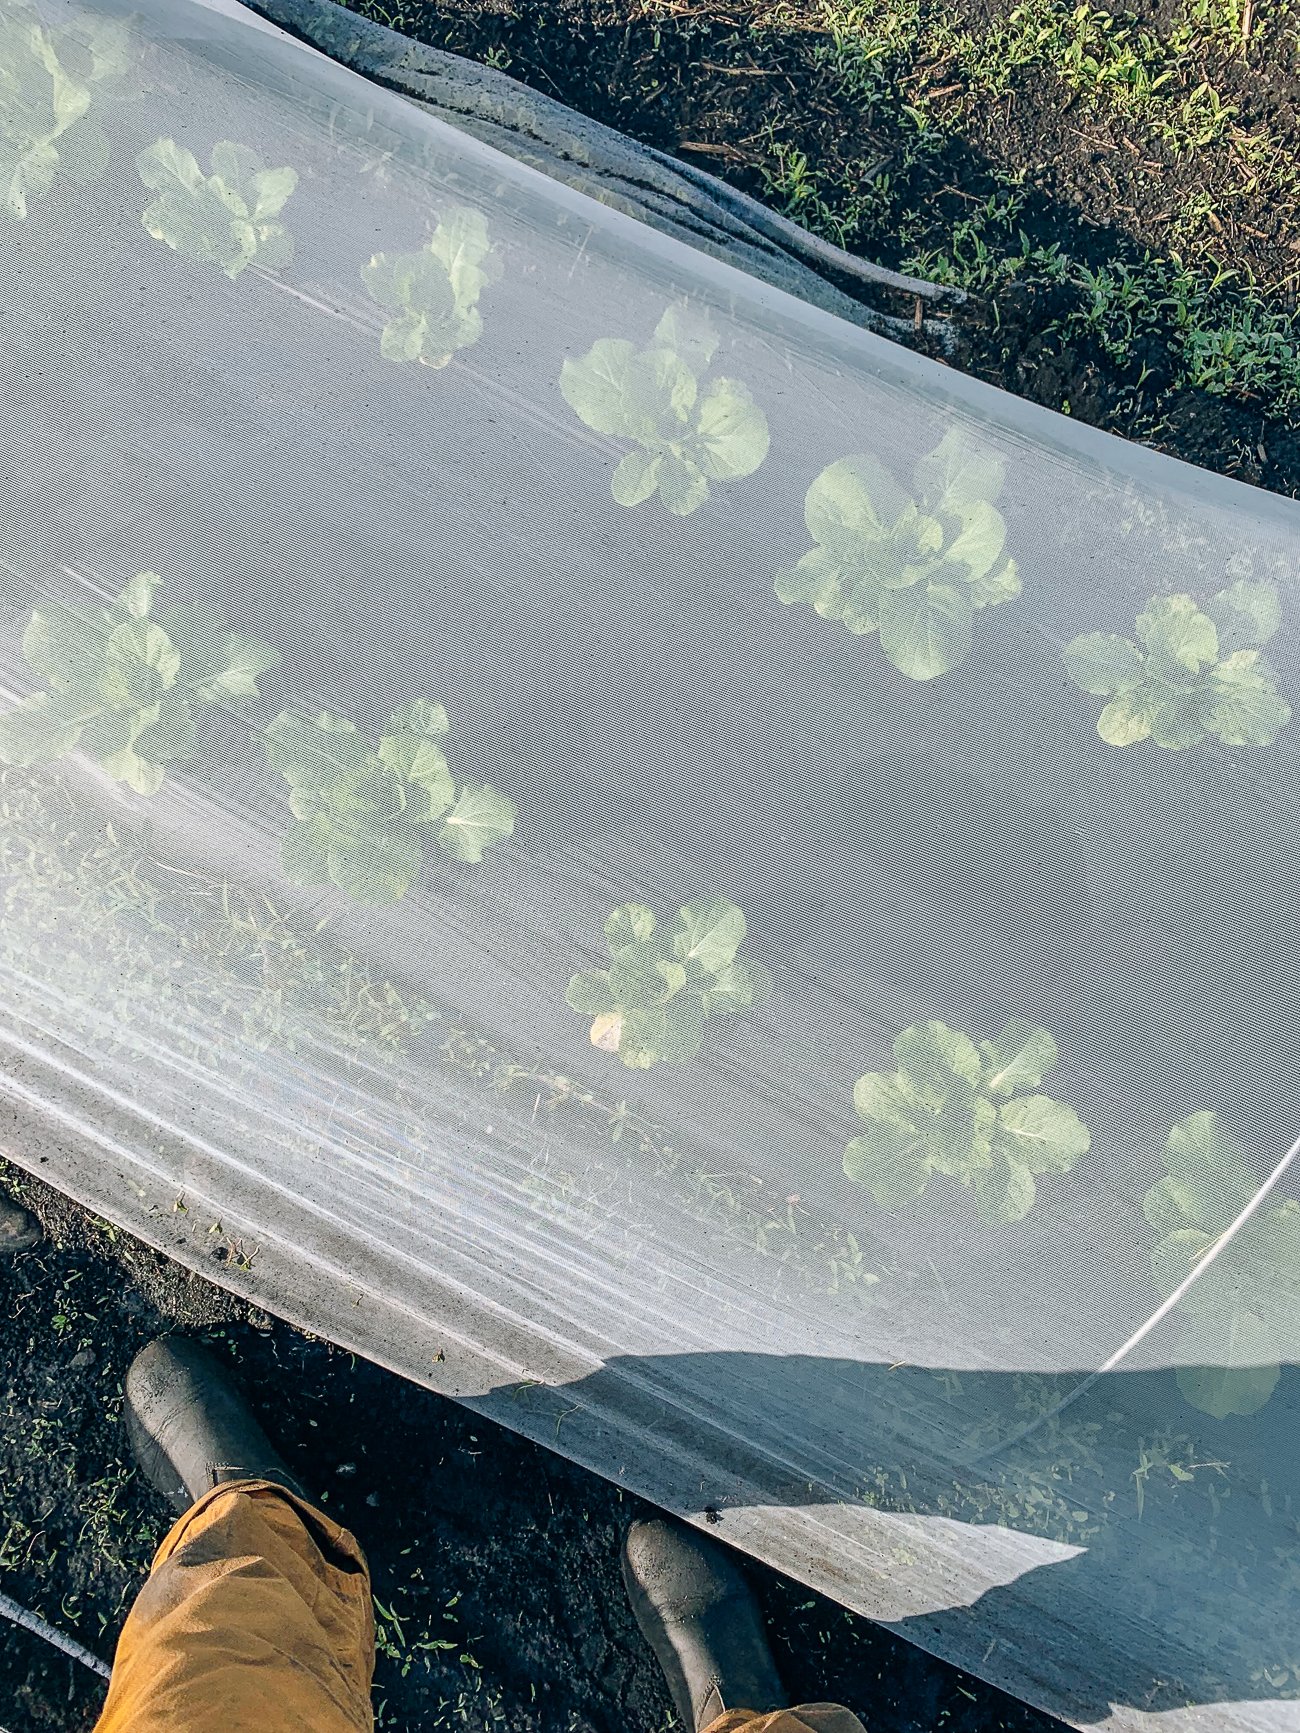
If you live in a warmer climate, Christina recommends looking into ProtekNet. It’s an insect netting that does not trap any heat.
You could also try companion planting. Strong-smelling herbs and other crops like like thyme, dill, oregano, lavender, onions, garlic, and marigolds can deter cabbage moths or perhaps help make your tasty brassicas less obvious to the pesky flea beetle.
Some people also plant a “trap crop” (about 8-12 feet away from your vegetables) that lures the pests away to feed on it instead, like nasturtiums, which are also edible. We’ve never tried this method, but found it in our research!
For flea beetles, you can also attempt to time your planting around their emergence and subsequent flight. This would require doing some research and getting to know local agriculture experts (Cornell Cooperative Extension is helpful!)
When it comes to slugs, which are basically snails without shells and move along the ground, you can use other physical barriers to deter them.
For one, you could try prickly things. We have personally taken this approach with the spiky balls from the sweet gum tree on our property, which we placed in a border around some of our more vulnerable beds. Other materials include sharp sand and crushed egg shells).
You can also try copper tape (it’s supposed to create a chemical reaction that deters them). There are also wildlife-safe and pet-safe slug repellents like Sluggo. It has been approved for organic use, though we haven’t personally tried it.
One way to prevent slugs from reaching your vegetables is to plant them in raised beds or containers. Just know that if your raised beds are made of old or rotting wood, those can be very good slug hiding places!
We have found that the bok choy in the raised beds had much less pest damage in general than vegetables up in the large garden. Our napa cabbage in the big garden is having major slug issues, which we’re dealing with as we speak!
With cabbage moth caterpillars and slugs, physical removal of them can also help. Ideally, though, you want to prevent them from getting onto your vegetables at all.
3. WEEDS
We all know what weeds are! They can grow in our vegetable beds, competing with our crops.
How to deal with them:
Hand-pulling weeds, or using a small fork or hoe to cut the weeds back at their roots can help damage or—in the case of hand-pulling—fully remove them. If weeding by hand, try your best to remove the entire root system to prevent regrowth.
It’s easiest to pull weeds when they’re small. You can also suppress weeds early (before the growing season begins) by adding a thick (at least 3-inch/7-8cm) layer of organic compost as a mulch. This prevents light from getting to the young emerging weeds, and also amends the soil.
We had quite a few (errr…a TON of) weeds in our bed of bok choy. I spent a good hour or so hand-pulling all of them when they were tiny, and we’ve just been keeping on top of it!
The silver lining with weeds is, if you have a lot of them, it means your soil is fertile!
OUR HARVEST
Ok, so now that we’ve dropped all that knowledge, I bet many of you are wondering how we did in our bok choy growing!
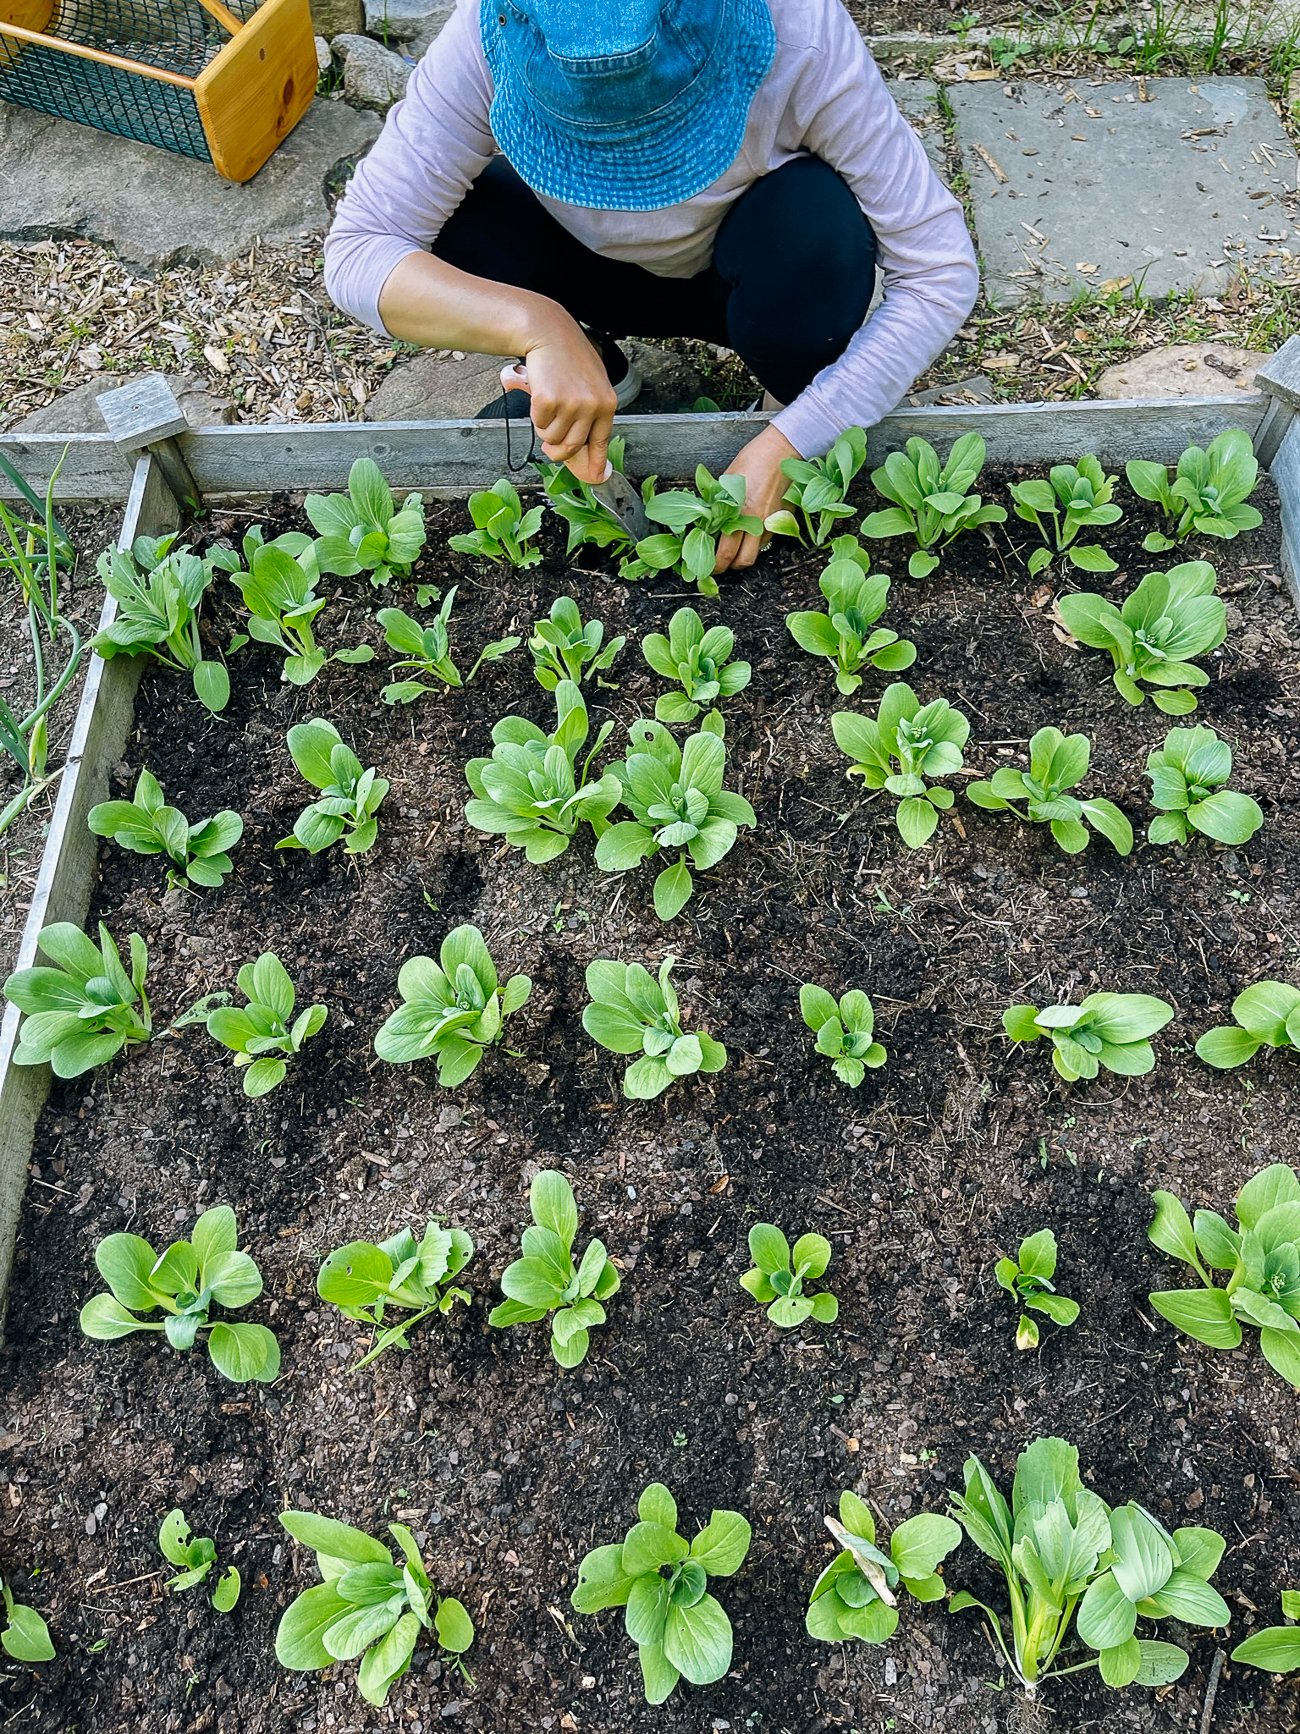
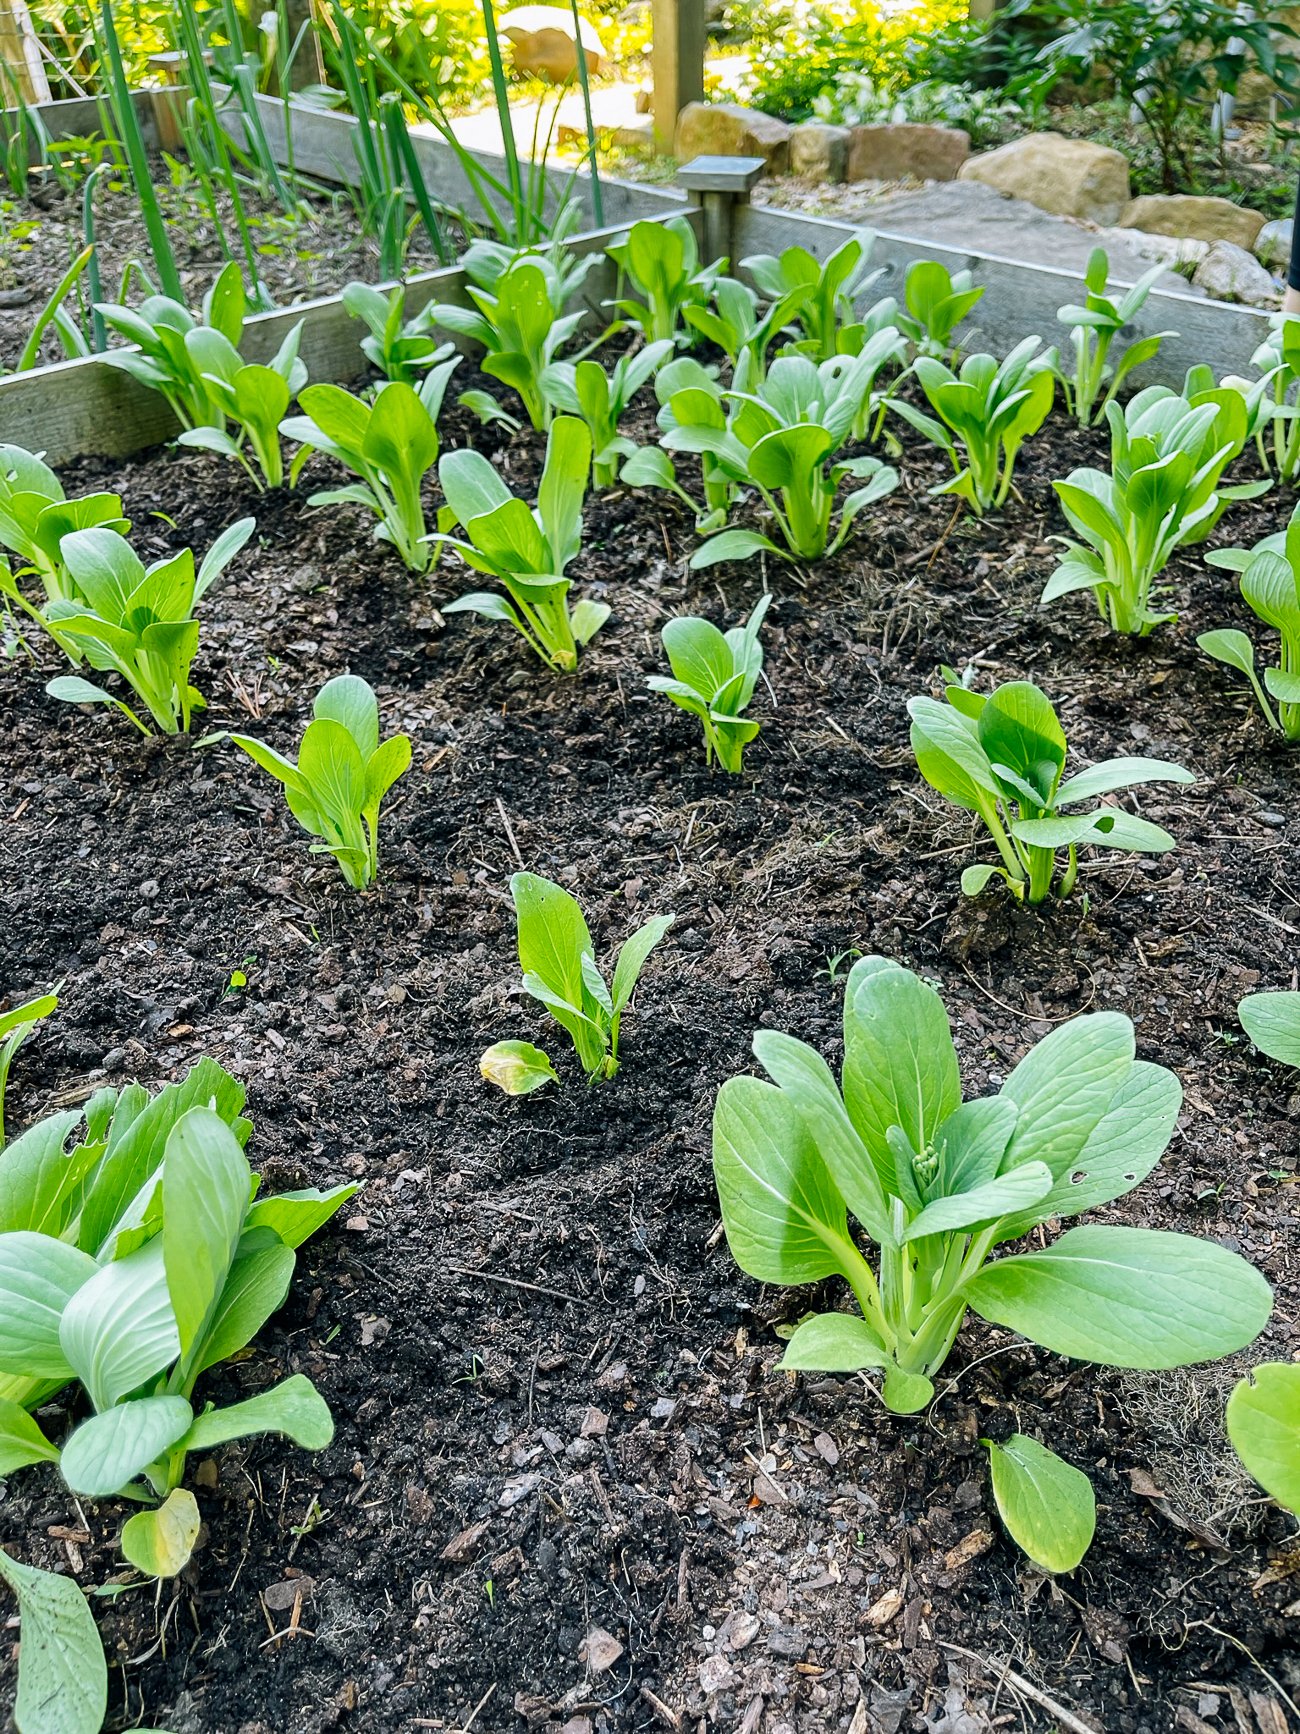
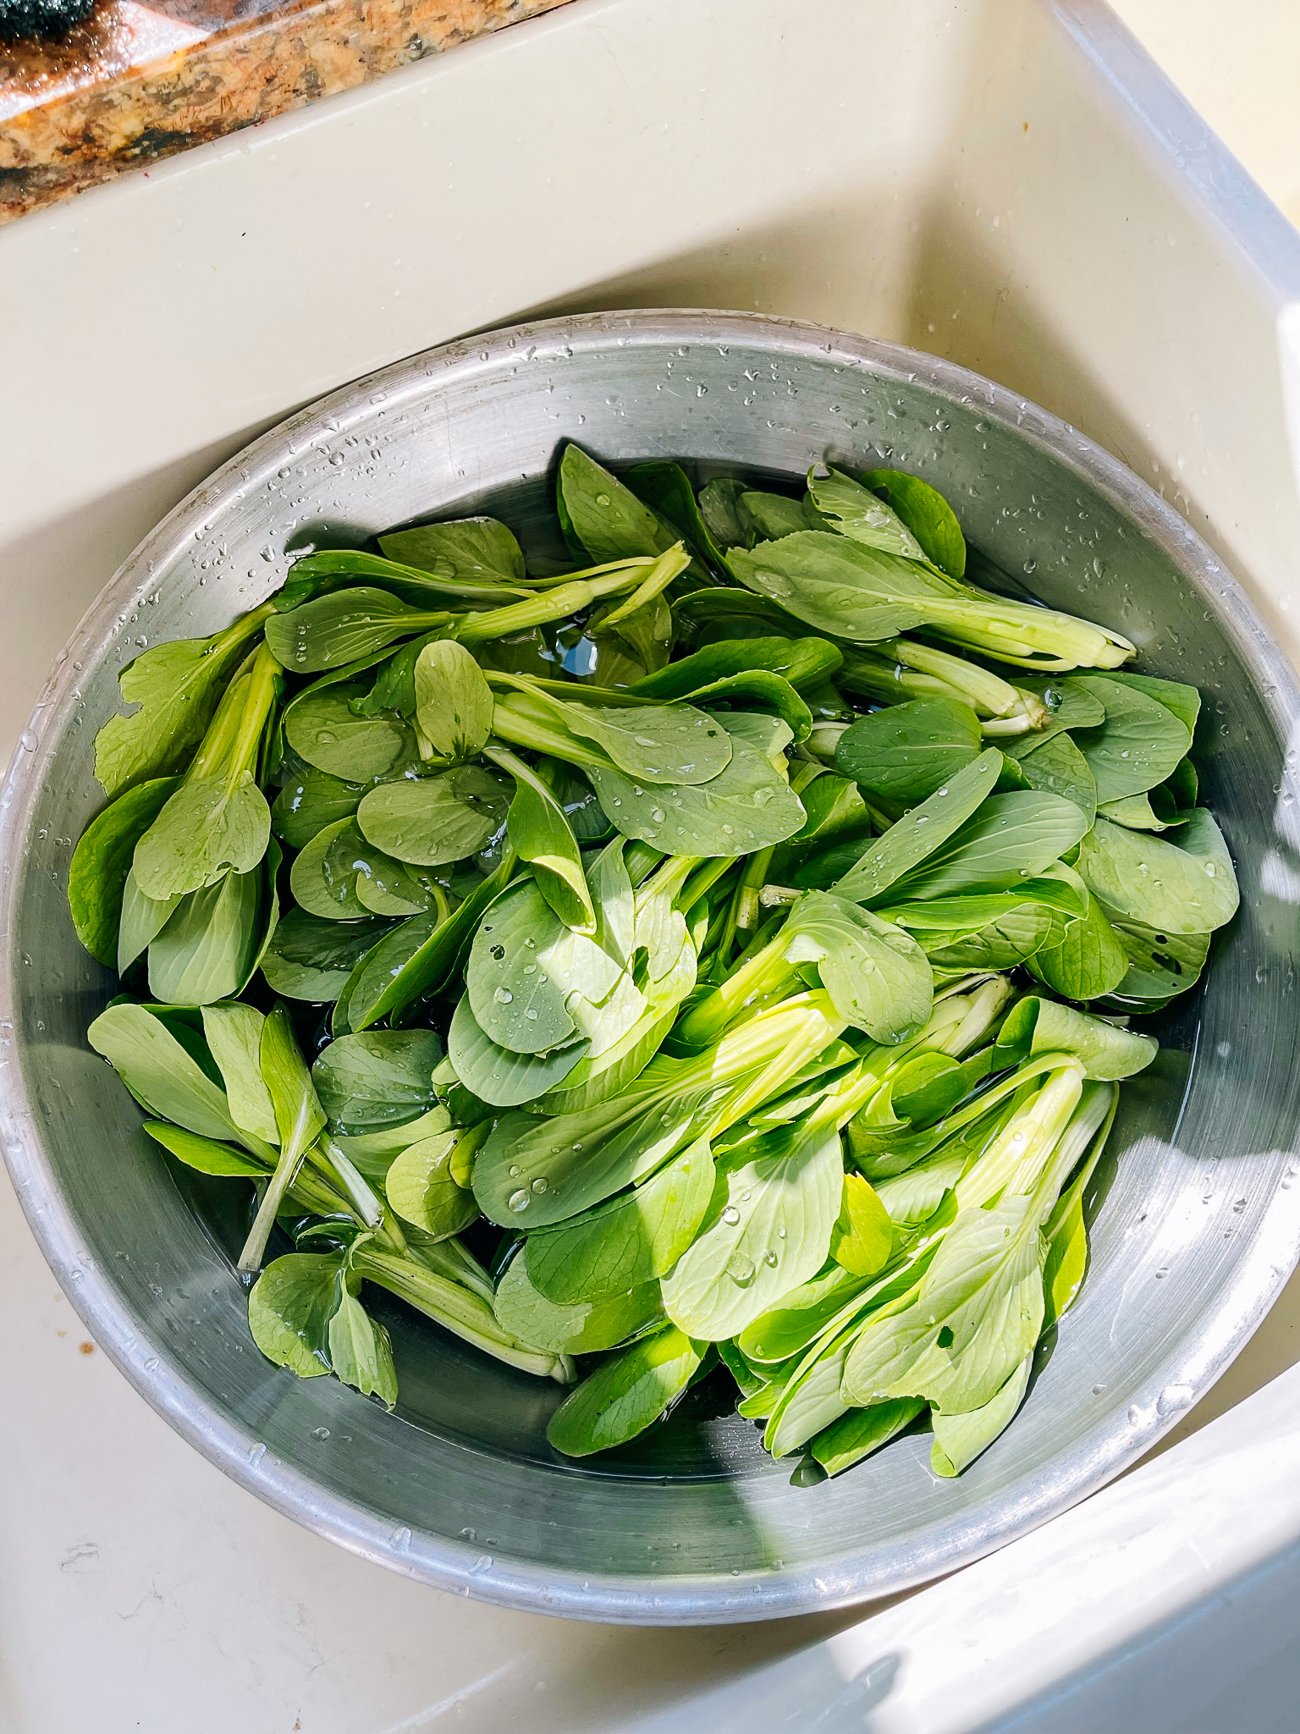
As mentioned earlier, we direct seeded our bok choy into the raised beds in the kitchen garden by the barn. These were some of the first beds we prepared earlier in spring.
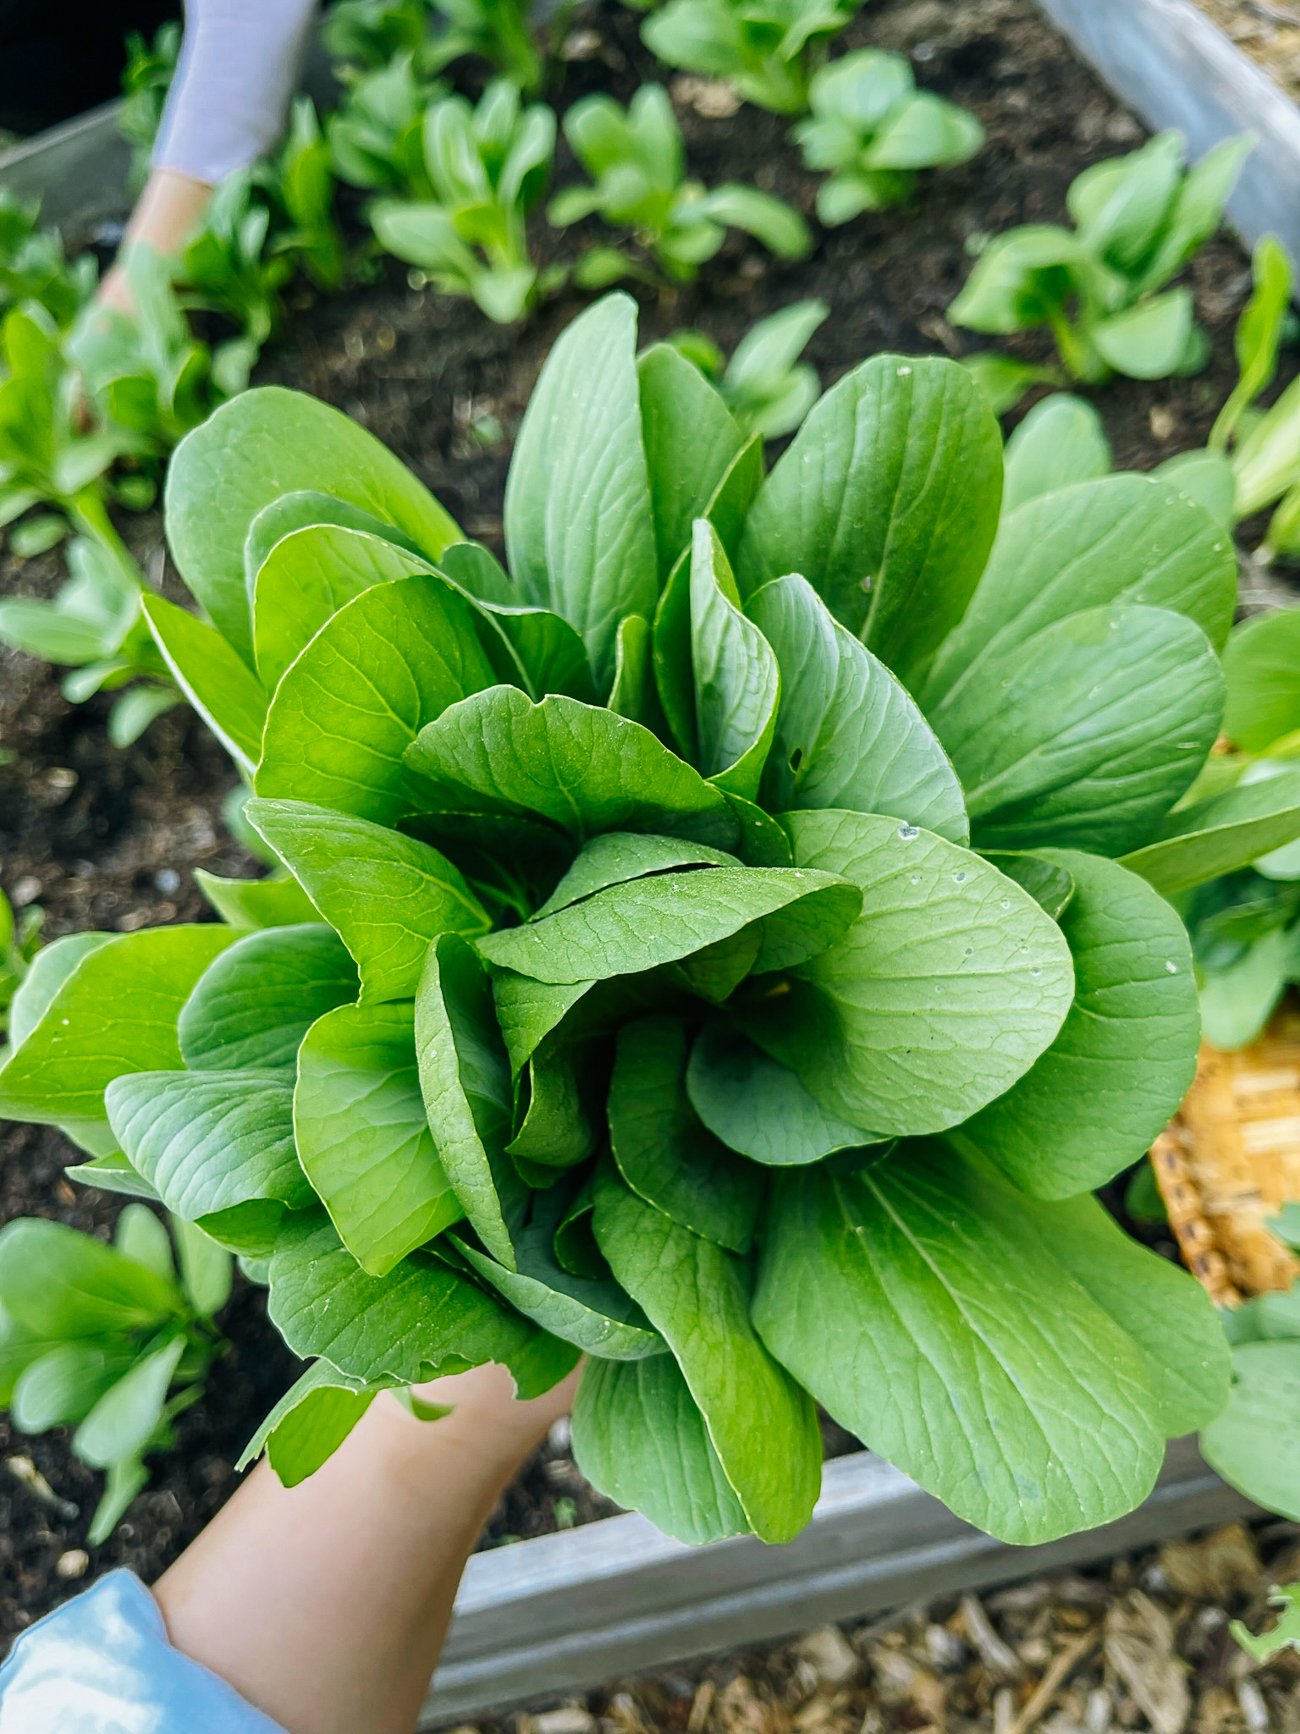
We waited a while to thin them. By the time we got to it, most of the plants were already a decent eating size. So we basically harvested and thinned at the same time!
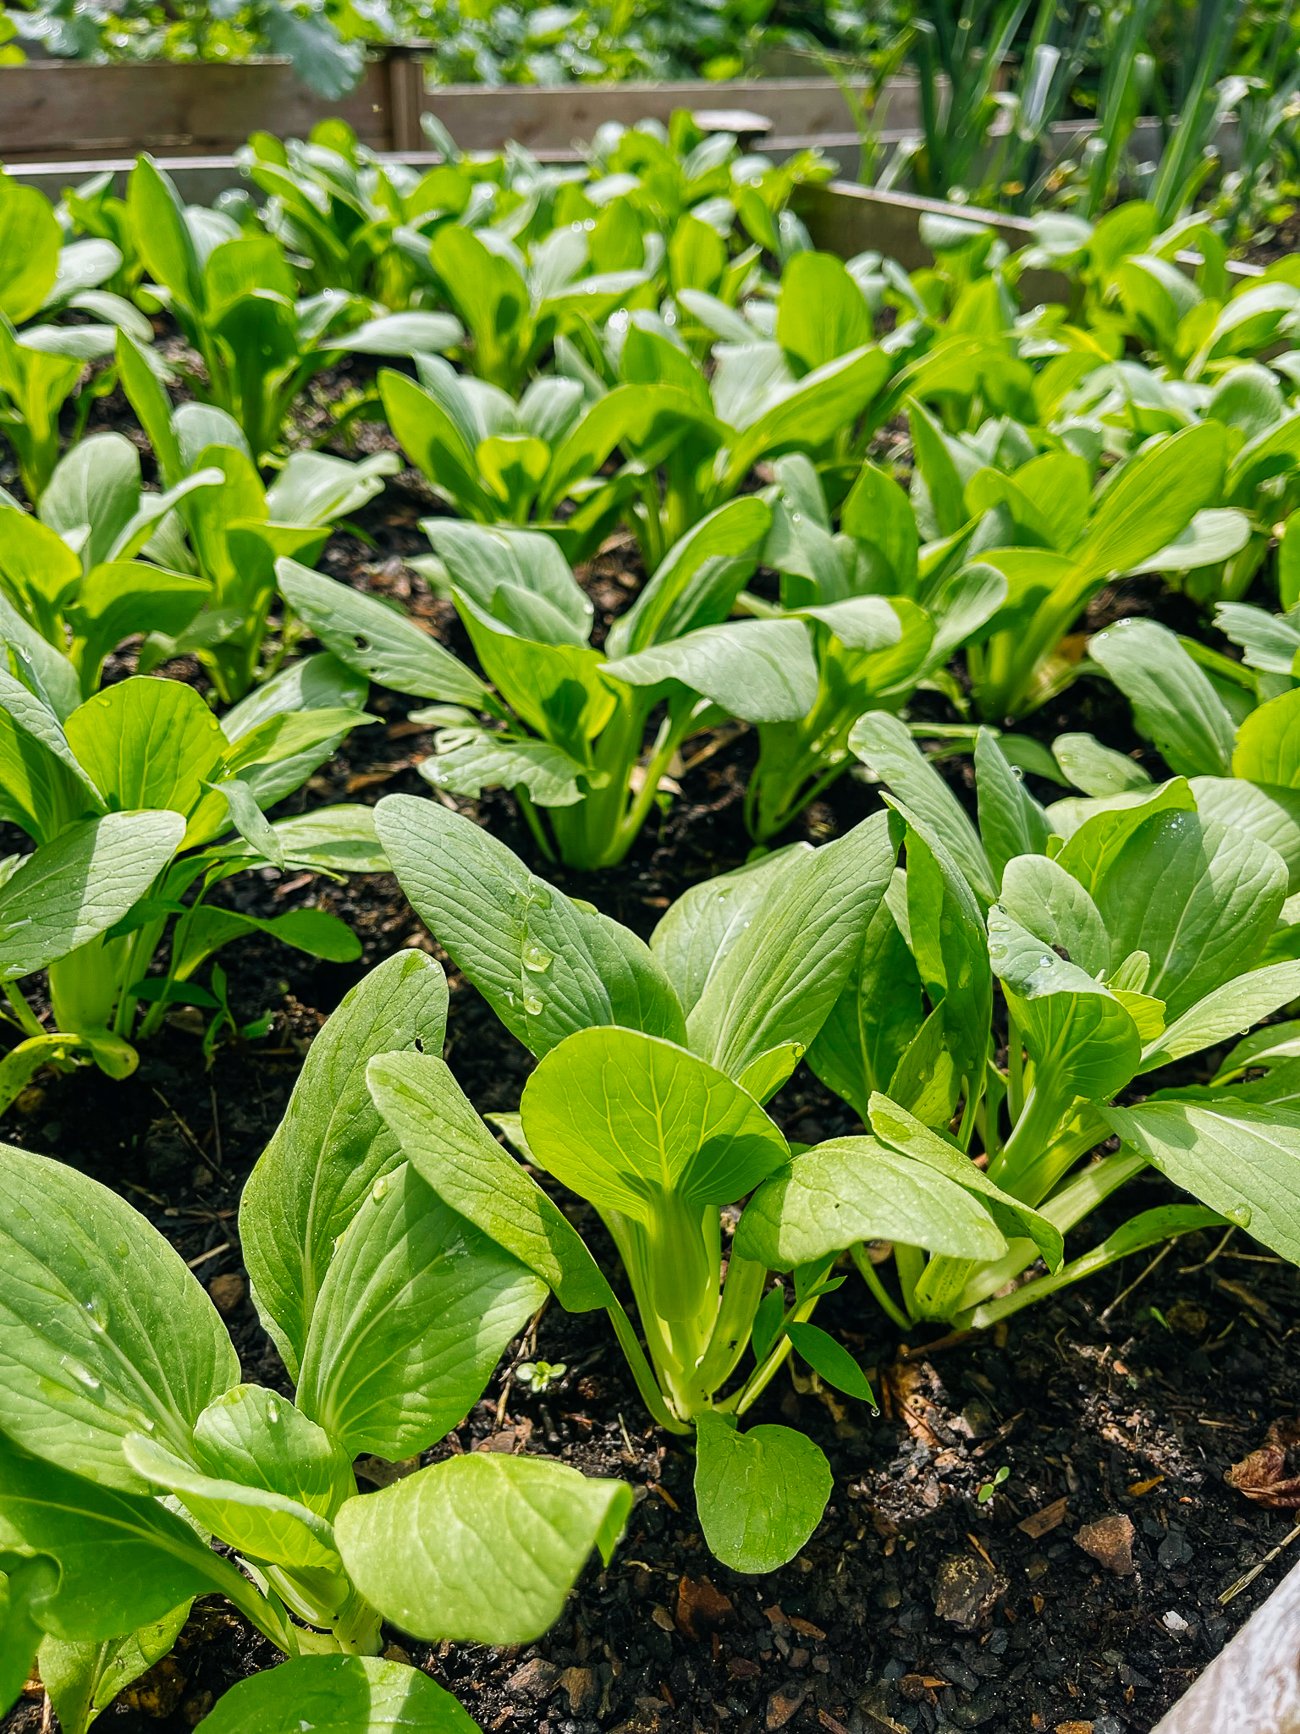
We figured we would harvest half of the plants as baby bok choy. Then we’d wait for the remainder to grow bigger with the extra space.
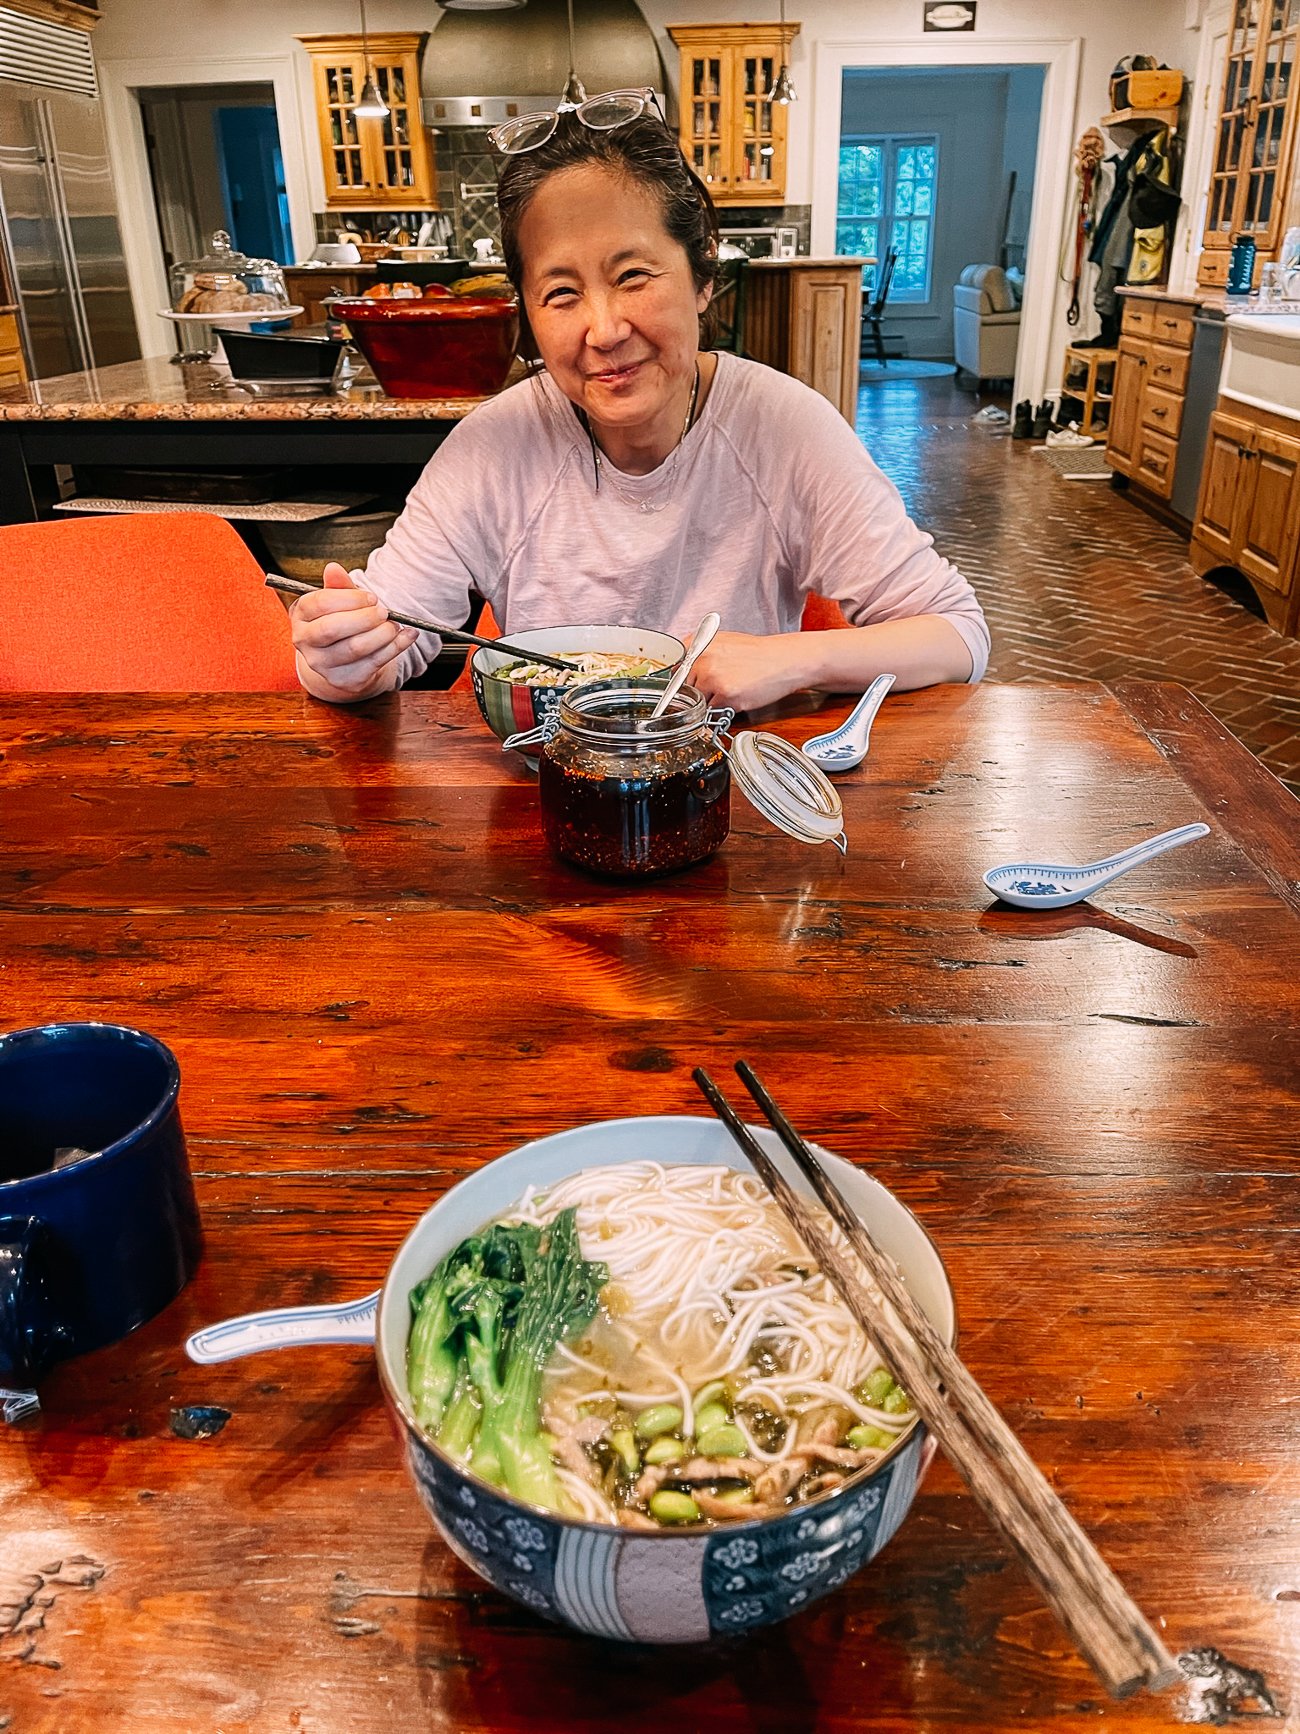
We harvested enough for a couple of meals!
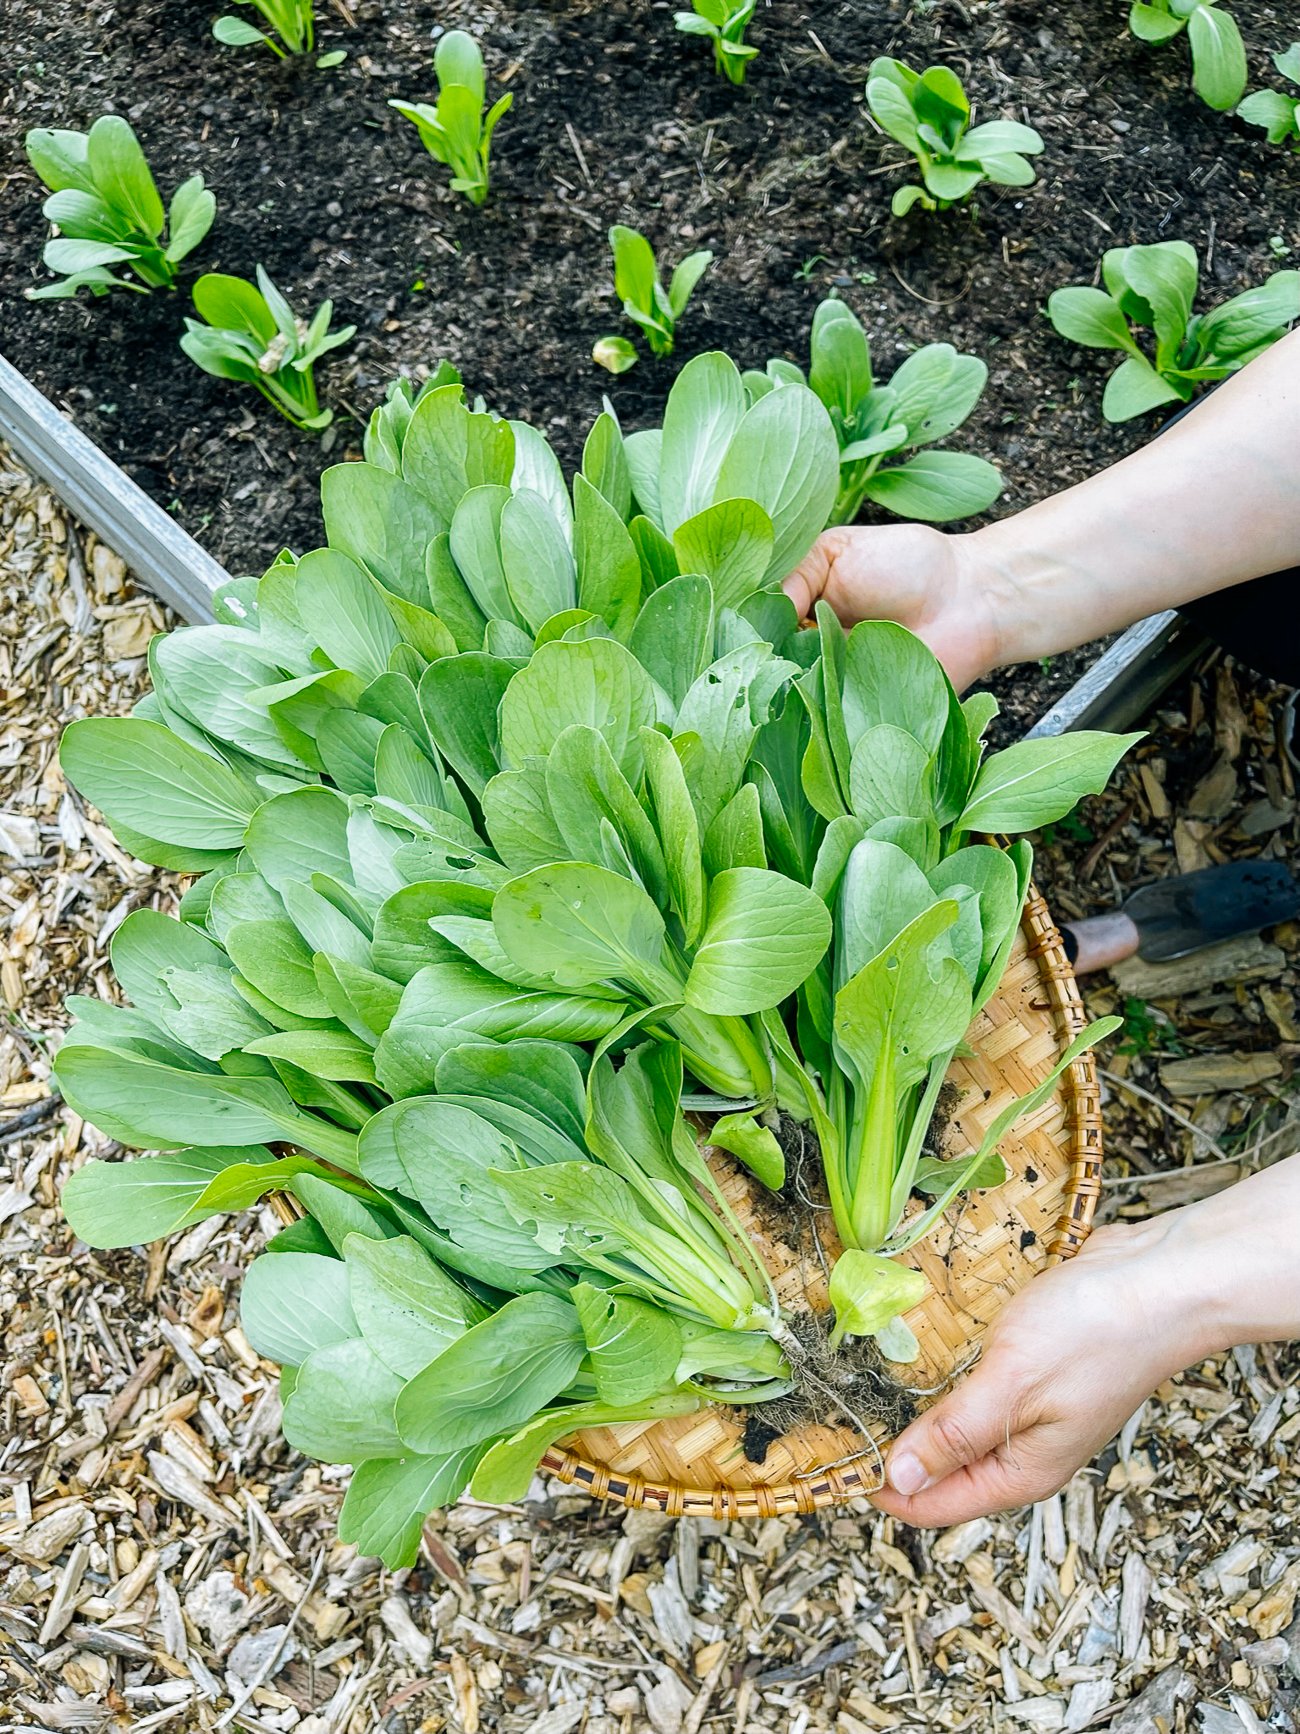
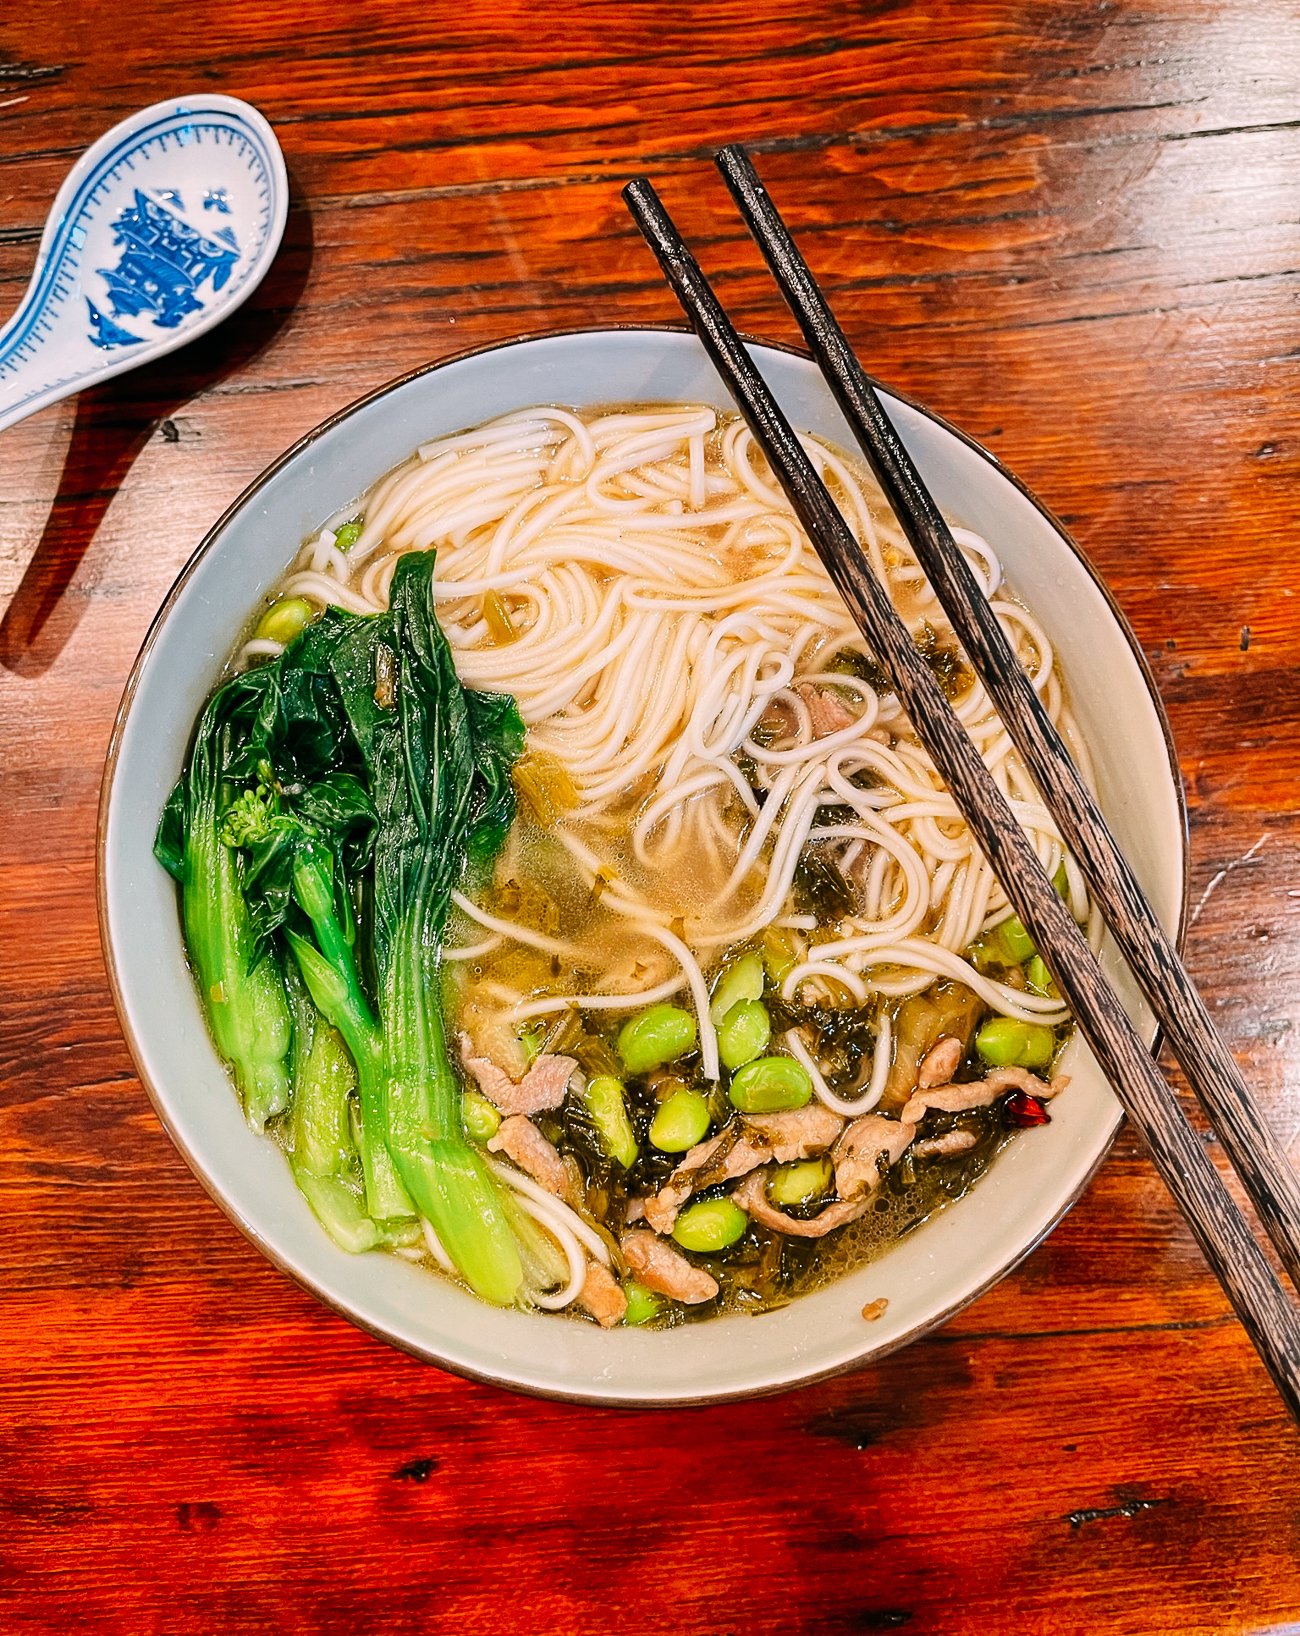
Our first harvest dinner was a simple noodle soup, which we always like to add leafy greens to. It was a tasty reward to try our first fresh veggies from the garden!
Then on the Tuesday after Memorial Day, we had an extremely hot 93°F (34°C) day, and while we’d watered our bok choy the evening before, much of it bolted. At that point, it was time to harvest the rest and enjoy it!

BOK CHOY ORIGINS & MIGRATION
Let’s talk a little bit more about the history of this staple on our dinner table. Nicole Yeo, part of the Choy Division team, helped gather some interesting facts about bok choy!
Bok choy can be traced back to China’s fertile Yangtze River region and has been cultivated for thousands of years.
In fact, archaeologists have found Chinese cabbage seeds in river valleys dating back at least 6,000 years. Examples of modern bok choy have been dated to 3,500 years ago. Its beautiful green and white colors have even made it a frequent subject for jade carvers!
Over the centuries, this vegetable traveled to other parts of Asia. It eventually came to Europe and North America in the 19th century with Chinese immigrants.
Its history in the United States is closely linked with Chinese immigration to California in the 1800s, as Chinese farm labor increased in the state through the late 19th century.
While many traditional Chinese ingredients didn’t grow as well in America, bok choy was hardy enough to grow in this new land. Eventually, bok choy came to be one of the most accessible and well-known Chinese vegetables in Western countries.
It has worked its way into many cuisines around the world through Chinese immigration. Take the Caribbean for instance. “Pak choi” or “joy choy” is available on menus and markets in Trinidad, Guyana, Jamaica, and Cuba. Notably, Jamaicans know bok choy as “pop chow.”
The term “bok choy” that we use in English is actually a romanization of the Cantonese word for this vegetable.
This is due to the fact that most early immigrants to the U.S. were from Canton/Guangdong province in Southern China. Other common spellings are: bok choi or pak choi.
CONCLUSION
We hope this post on how to grow bok choy was helpful and will be a useful reference for you later this year and in future growing seasons. Perhaps we’ve inspired you to plant some bok choy later this summer for harvest in fall!
We’d like to thank Christina and her team at Choy Division for embarking on this collaborative series with us, and for sharing their knowledge with our readers.
Check out the Choy Division website to learn more about their mission to grow East Asian heritage crops and expand food diversity and access across New York City!
For more information on how we use bok choy and a list of recipes you can try, check out our Ingredients Glossary post, Bok Choy: Different Types and How to Cook It.
We have four more posts in this series coming up. In July, we’ll be talking about Napa Cabbage! Then we’ll move on to Chinese eggplant, peppers, and garlic chives.
Any lingering questions? Feedback on the post? Stories or tips of your own to share? Let us know in the comments below!


No comments:
Post a Comment